

Dashboard tv
When implanting a monitoring system in business environments it’s very common to have a team of operators or agents in charge of tracking any problems that may come up, and to take the necessary action in case of a warning. In this kind of situation it is normal to want to present the information quickly, via graphs which are easy to read. In order to do this many teams opt for installing screens or monitors which display TV control panels, with viewers showing active problems on the system, tracking of recent events, service states, etc.
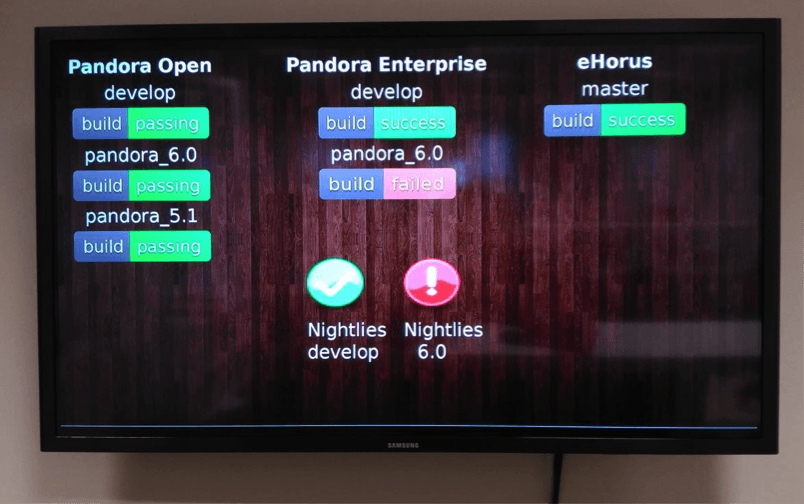
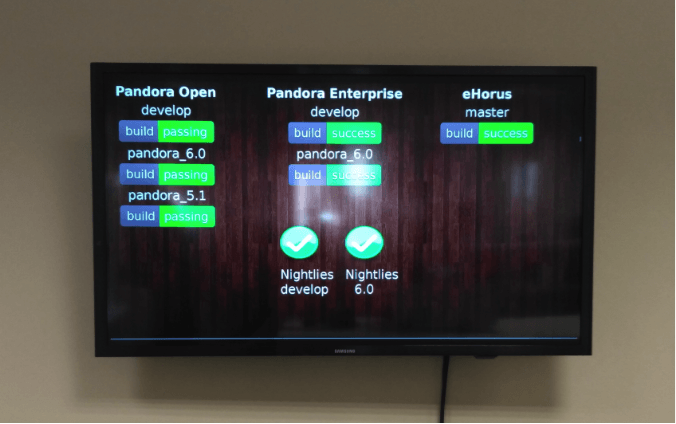
In the screenshot above you can see an example of a control panel in our office, where the ongoing integration processes in development cycles may be seen.
Example of a combined TV control panel:
Pandora FMS has been designed, among other things, to be flexible, and powerful, when it comes to displaying data, making it perfect for the topic of this tutorial. So, what’s the next step? To present all this data on a TV screen. To do that we’re going to make use of a Raspberry Pi and a dumb TV with an HDMI connection.
Installing the Raspberry
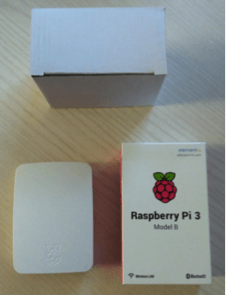 As you probably know, a Raspberry is basically a micro-computer with a fully-functional, though minimal, circuit board that includes most of the necessary ports (USB, HDMI…), and can be bought for less than 40€ on Amazon.
Step by step guide to preparing your Raspberry: On one side there is a slot for a microSD card which will be used for installing the OS Raspbian. If the microSD card has a NOOBS image, the OS can be installed directly from the card. If not, download it from the official website and prepare the card yourself.
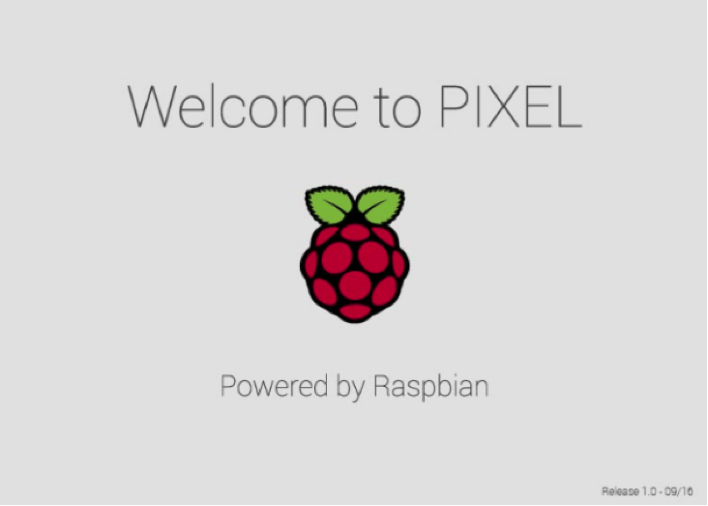
To carry out the initial installation insert the card and connecta monitor, keyboard and a mouse to 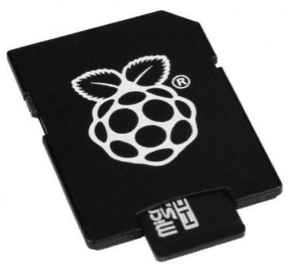 the Raspberry. When the Raspberry starts up with the microSD card a wizard will guide you through the installation and the filling out of the required information (passwords, WiFi connection, etc.) and in a few minutes the OS and the device are ready to get to work.
Now your server, your Pandora FMS console and the Raspberry OS are all installed and working perfectly (fingers crossed). If possible, place the Raspberry in the same sub-network as the Pandora console so they can see each other, since, if you want to use architectures from different networks it’s necessary to configure the paths and accesses through possible firewalls (only for users with advanced networks knowledge).
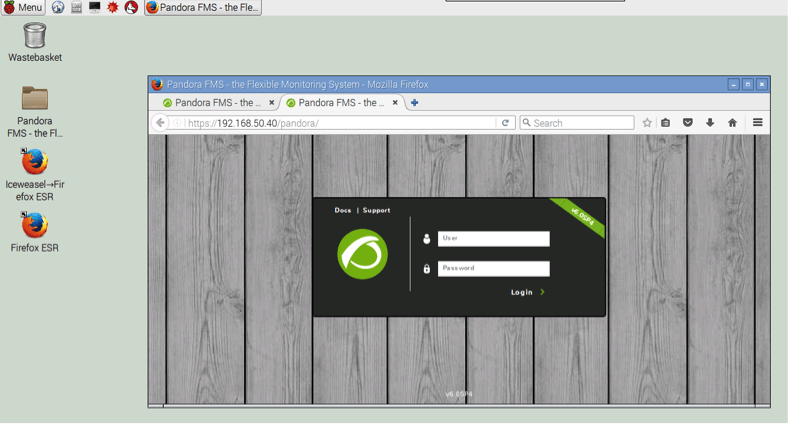
Check that you can access the Pandora console from the Raspberry via a URL in the browser, in our case: https://192.168.50.40/pandora
Once access is established, ensure that you can always access your Raspberry in case it needs to be intervened at any time.
Remote access to the Raspberry
Given the probability that you’ll need to access the Raspberry at some point to make changes, you should have a system that allows you to remotely control the device, since removing it and connecting it to another monitor, keyboard and mouse can be somewhat tedious.
Option 1: wireless remote controller
Given that the Raspberry pi 3 comes with inbuilt bluetooth this is a quick option if you have a bluetooth keyboard. Execute the following command:
bluetoothctl
And enter the bluetooth control console, and executer:
# agent on
# default-agent
# scan on
If your keyboard is visible to other bluetooth devices its name will appear along with a series of alphanumeric characters. Copy them and execute the following on the bluetooth console:
# pair 6F:DE:CE:45:5D:7F
Substitute the chain 6F:DE:CE:45:5D:7F for the alphanumeric code displayed next to the name of your wireless keyboard when executing the scan in the previous step. Now you can use the Raspberry with your bluetooth keyboard.
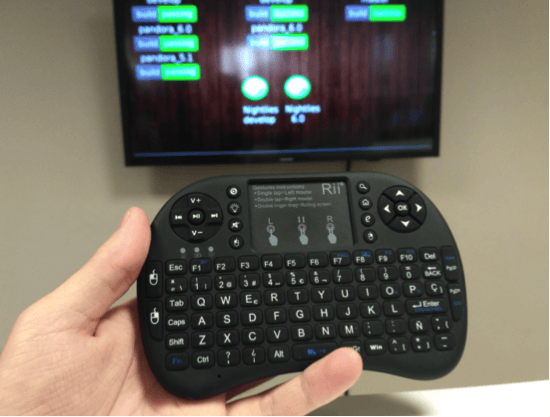
In the following photo you can see a wireless bluetooth controller used in our development department.
Option 2: eHorus
eHorus gives you real-time access to your Raspberry device at any time, in order to:
- Access a command line.
- Remote desktop.
- Control of services.
- Control of processes.
- File-sharing.

To get started, create an eHorus user account here, and once you’re in download the official Raspbian packets, and install and execute with the following command:
# tar -zxvf ehorus_agent_installer-raspbian-arm7-0.9.1.tgz
# cd ehorus_agent/
# ./ehorus_agent_installer –install
Then edit the /etc/ehorus/ehorus_agent.conf file file to establish your user. You can do it executing the following command:
sed –i ‘#eh_user./c\eh_user youruser’ /etc/ehorus/ehorus_agent.conf
Then start up the eHorus agent executing:
/etc/init.d/ehorus_agent_daemon start
If everything works, you can access your Raspberry via eHorus with your user and password.
Raspberry – TV connection
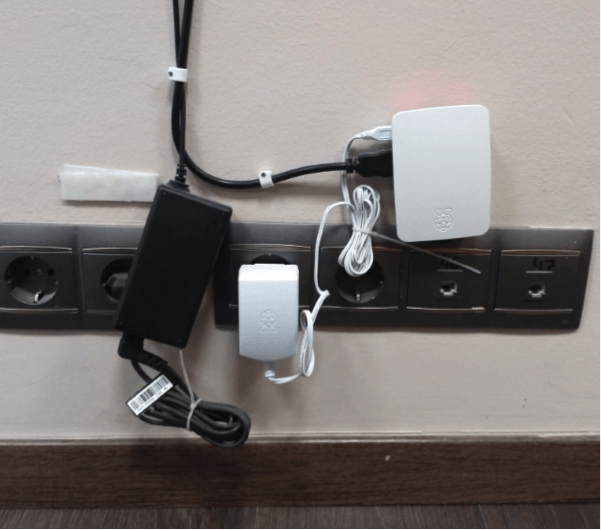
Now you have remote control of the Raspberry, place it close enough to the TV to connect via HDMI. A wired connection isn’t needed as the Raspberry connects via WiFi.
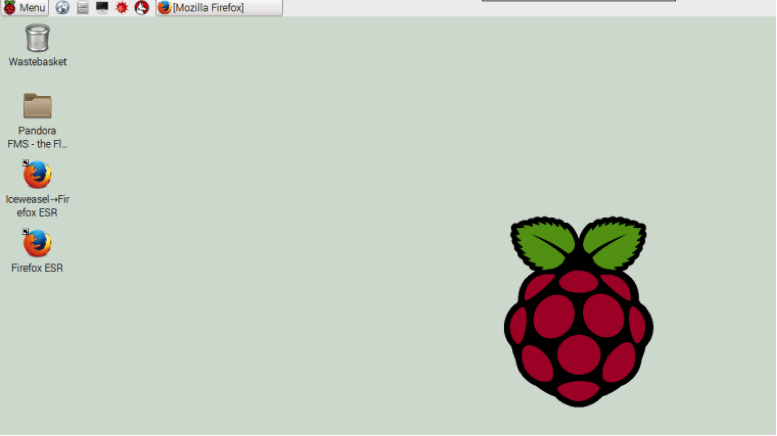
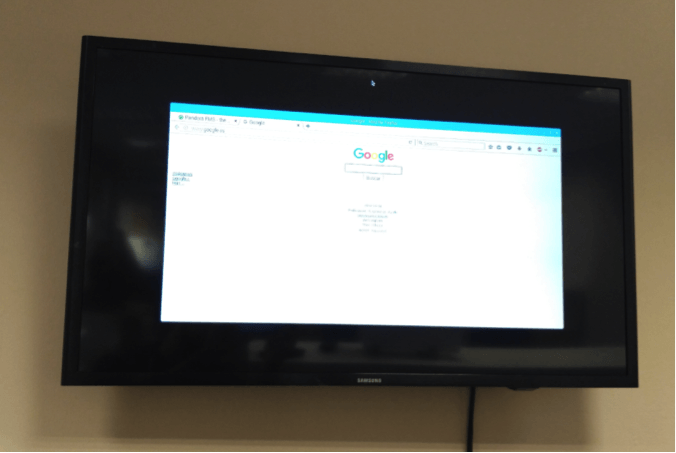
Once it’s connected, turn on the TV and find the HDMI port, where the Raspberry desktop can be seen once it’s turned on:
Using the control system you’ve selected access the Pandora FMS console and the dashboard section. Everything you do via remote control is visualized in real time on the Raspberry-connected TV, until you leave the dashboard operating on full-screen and rotation mode:
As you can see after following the tutorial, it’s not a complicated task to set up your devices and view information on various screens. Now that you are here, your imagination and objectives are the only limits. In our offices we have various screens up displaying relevant departmental information/objectives/tasks, etc.
Creating dashboards and visual consoles with Pandora FMS
A couple of the options Pandora FMS provides for presenting data visually are:
Visual consoles
These allow you to edit and add elements freely, as well as change the background wallpaper, or load images and logos. These can all be subsequently used on the dashboard as well.
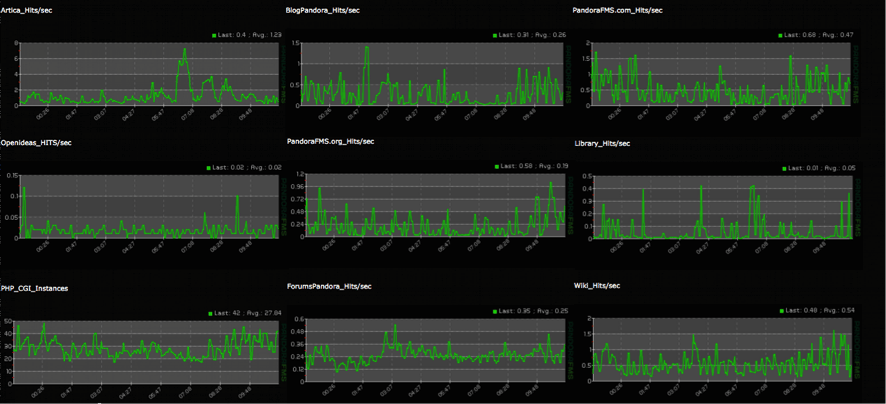
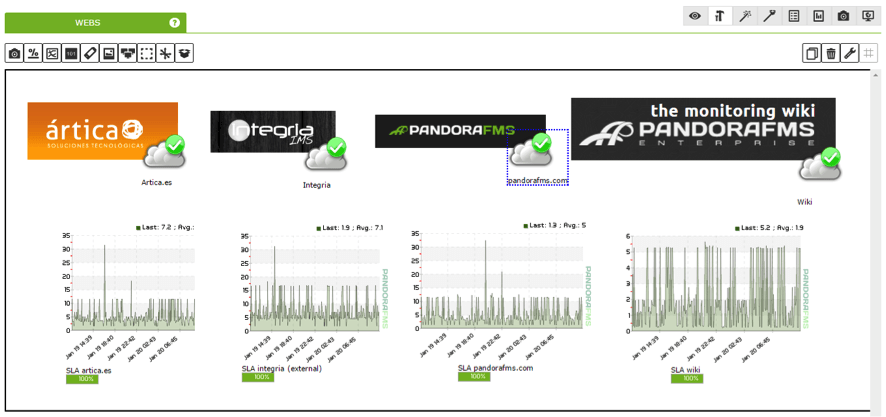
Visual console with real-time metrics on the status of websites, access, SLAs:
Visual console with eHorus metrics:
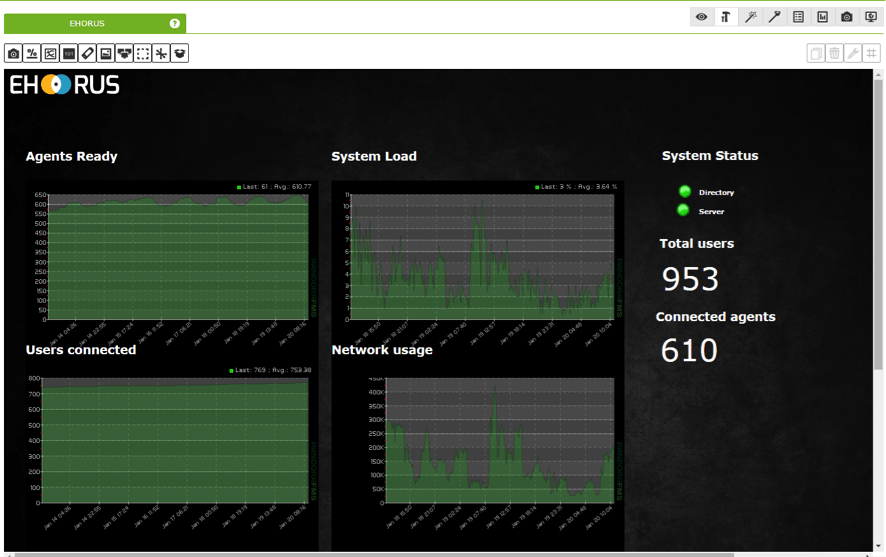
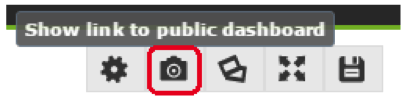
The information is updated at all times on the visual consoles, refreshing automatically and displaying the latest data received. Apart from the many editing options you have on the visual console it’s possible to get a public URL to access the console without having to log on as a user:
Dashboard
This allows you to create custom control panels to display any kind of information and present it as a rotating slideshow. Dashboards function via a system of cells, which can be added and removed as needed and also their position and size can be altered:
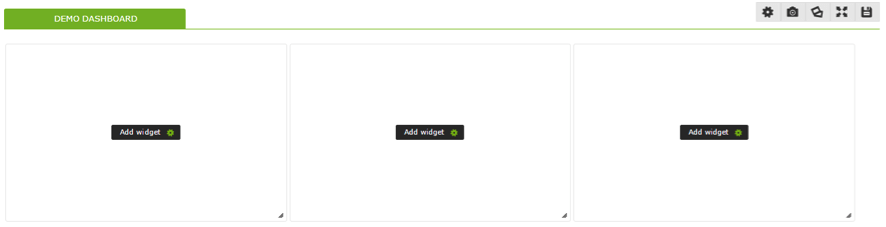
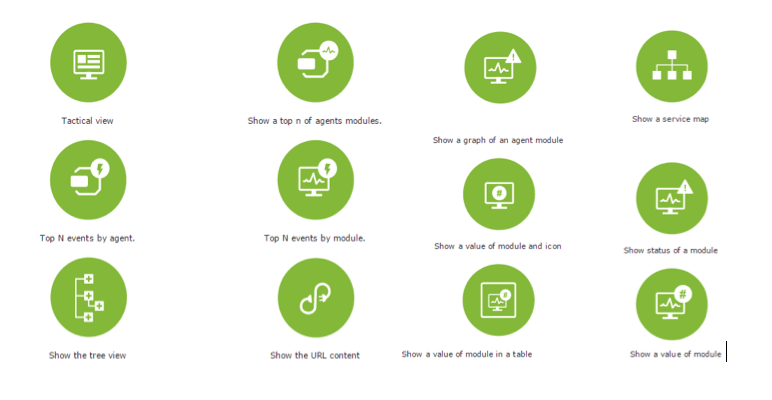
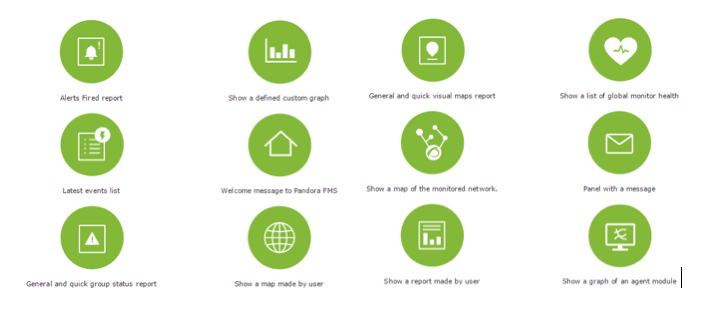
Dashboard elements:
In the next example you can see the content of an external URL, giving an idea of how the information Pandora FMS is capable of displaying can be extended. It’s also possible to show a URL from a specific section of Pandora FMS:

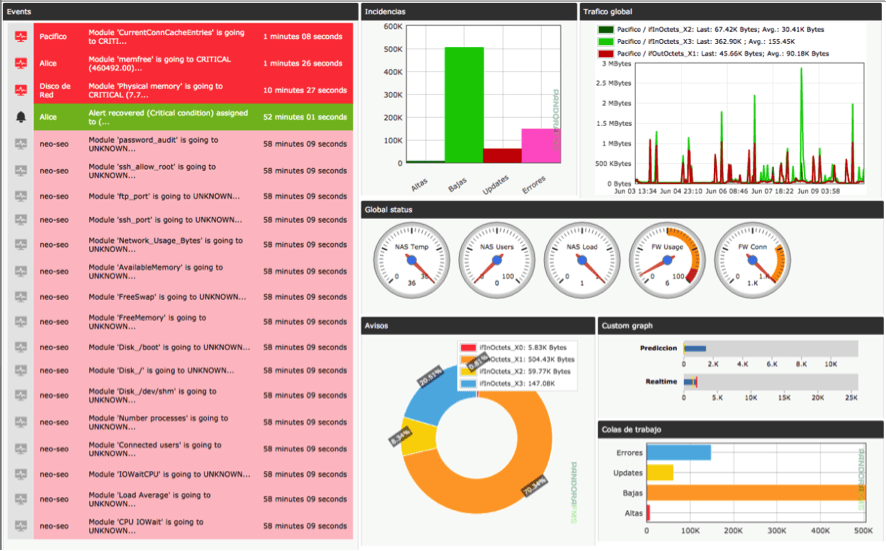
Full dashboard:
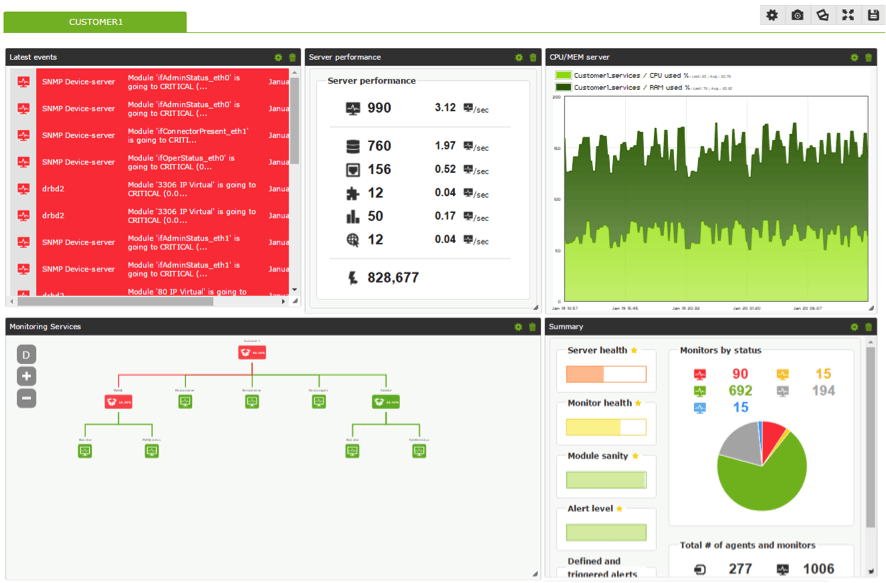
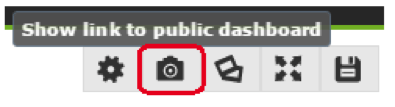
On the upper right there is a series of helpful options to show the dashboard in fullscreen or slideshow mode, allowing you to rotate among the different dashboards you have, and establish the timing of each display:
![]()
The dashboards refresh automatically so you always have the most up-to-date information, making it an ideal option to display on a TV as described in the article. You can also get a public access URL using the dashboard, making it unnecessary to log on through Pandora FMS:

Pandora FMS’s editorial team is made up of a group of writers and IT professionals with one thing in common: their passion for computer system monitoring. Pandora FMS’s editorial team is made up of a group of writers and IT professionals with one thing in common: their passion for computer system monitoring.