Automatic agent deployment
Introduction
Steps to deploy Software Agents on the devices to be monitored from the Web Console:
- Software agents for GNU/Linux®: Access by SSH on the default port
22. - MS Windows® software agents: PowerShell® enabled and accessed through the default ports
5985or5986(WinRM® or Secure WinRM®, respectively) on a private local area network. For configuration details, please refer to “Enabling WinRM in MS Windows”. - For both previous cases allow the connection from the Tentacle server to Pandora FMS, which will perform the deployment, and with access to the default port
41121without password or communication encryption (see next point). - Register the credentials to be used to connect to the targets in the credentials manager: The credentials (type custom) with which the accesses to the found or specified targets will be tested must be specified.
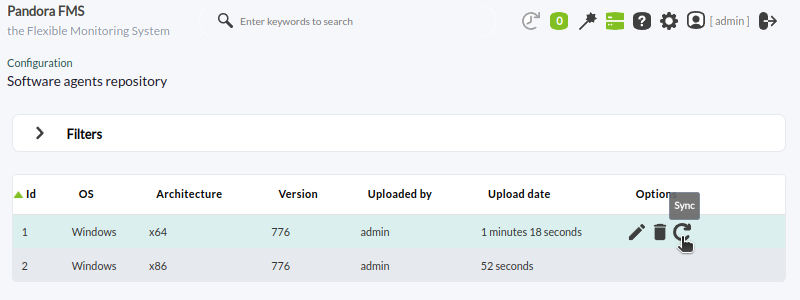
- Download and register the versions of Software Agents to be deployed in the agent repository: You will need to store the agent installers and synchronize with the
data_indirectory of PFMS server:
- This system does not perform PUSH operations; all deployments are transmitted offering the software and instructing the target to install it.
- It will be necessary to have the Tentacle server configured with the filters for the
agentdirectory and that the installers of the agent repository can be downloaded. If you upgrade to version 777, you should check that the filters are configured and restart thetentacle_serverdservice.
Search for targets
Once the described steps have been verified, you will be able to access the menu Management → Discovery → Host & Devices → Agent deployment.
Any of the following options can be used to define targets for deployment:
- Scan for targets.
- Add target.
- Load targets.
Finally, the agents will be displayed by clicking Deploy agent to targets.
Scanning one or more networks for targets
Clicking on Scan for targets will display a pop-up box, some of the parameters to be configured are as follows:
- Network/mask: The network or networks (separated by commas) and their mask(s) to be scanned.
- Scan from: The Discovery PFMS server that will perform the scan.
- Desired agent version: The version of the Software Agent to be deployed.
- Credentials to try with: One (or more) credentials that will be used to try to connect to the discovered targets.
- Tentacle server IP and Tentacle server PORT: The IP address (corresponds to the
server_ipfield in the agent configuration file) and port number of the target server where these Software Agents will point to when installed.
By clicking Scan, a new entry to be executed will appear in the task list.
Manually defining a target
Clicking Add target will display a pop-up box, some of the parameters to be configured are as follows:
- Target IP: IP address to deploy to.
- Deploy port: Port of connection to the target for agent deployment (according to the deployment method).
- Deploy method: SSH, WinRM or Secure WinRM.
- Desired agent version: The version of the Software Agent to be deployed.
- Credentials: Credentials that will be used to try to connect with the discovered targets.
- Tentacle server IP and Tentacle server PORT: The IP address (corresponds to the
server_ipfield in the agent configuration file) and port number of the target server where these Software Agents will point to when installed. - If necessary specify a temporary directory in Deploy temp folder or simply use the default directory according to the corresponding operating system.
By clicking OK, a new entry to be executed will appear in the task list.
Upload a CSV file with target information
If you want to record targets in bulk, you may upload a CSV file with the following format:
IP; Protocol; Target port; Target agent version; Credential identifier; Tentacle server ip; Tentacle server port; Temp folder
See each of the parameters in the section “Manually define a target”.
Deploying the Software
You may only schedule deployment against targets whose information is complete, specifying both credentials and software versions to be deployed.
As soon as you have possible targets in the list, the agent deployment can be launched. Select the IP addresses of the targets from the list (only valid targets will appear in Available targets) and with the Deploy button, the agent deployment will start.
A Discovery task will be automatically created for background deployment, which will be in charge of installing the agent in the desired targets. It will be possible to confirm that the agent was successfully installed from the target list in the deployment center (see summary), as well as to force, enable/disable, delete and edit these tasks.


 Home
Home


