
13. Email Alert
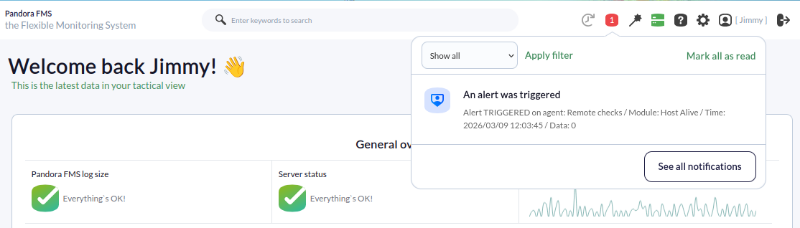
In Pandora FMS, alerts are assigned to specific modules of an agent. When said module enters a particular state, actions can be performed, such as notifications to a particular user via the Web Console:
The first alert we are going to create consists of sending an email message when connection is lost on one of the machines being monitored.
Alerts in Pandora FMS are composed of three elements:
- Command (send an email).
- Action (send a message to a specific user, using the previous command).
- Template (execute a specific action when a condition is met).
In this specific case, a predefined command (sending emails) will be used, an existing action (Mail to Admin) will be modified to send it via a specific mailbox, and an existing template will be used, the Critical condition template, which will trigger the alert when the module in question appears in a critical state.
With alerts we can do many more things, such as creating an escalation, creating our own commands (to perform more complex integrations or notifications), sending recovery notices, and assigning alerts in bulk, but we will leave all that for another time. This is a quick guide, right?
Configuring the email alert
Pandora FMS already contains an email delivery server in its installation by default whose sender is [email protected]. Generally, those emails are classified as SPAM by any recipient. To change the email address in charge of sending notifications, and the server that processes them, we must access from the console the section Management → Settings → System Settings → General Setup. In one of the configuration tabs you will find the Alerts configuration section:
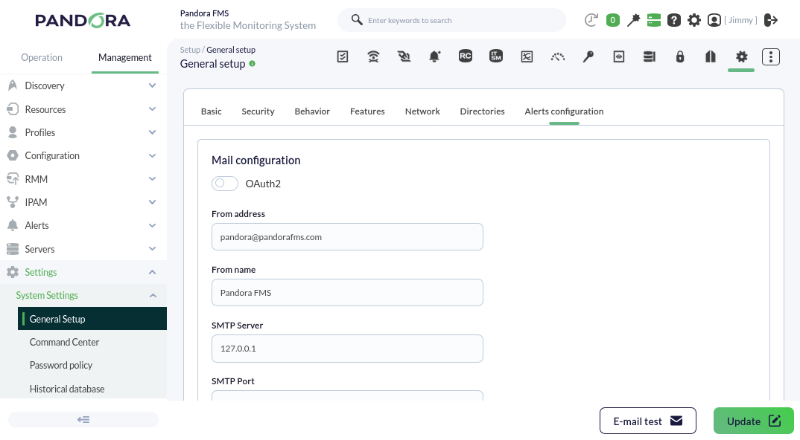
If you use the local server (127.0.0.1) you will not be able to send messages correctly, as it will depend on the configuration of your environment. If you need more information you can consult this link.
To prevent emails from being identified as spam, we recommend that you use a corporate email (Gmail®, Proton®, etc.).
To configure the recipient of an alert, you only need to modify the action. The action is Mail to Admin in Management→ Actions:
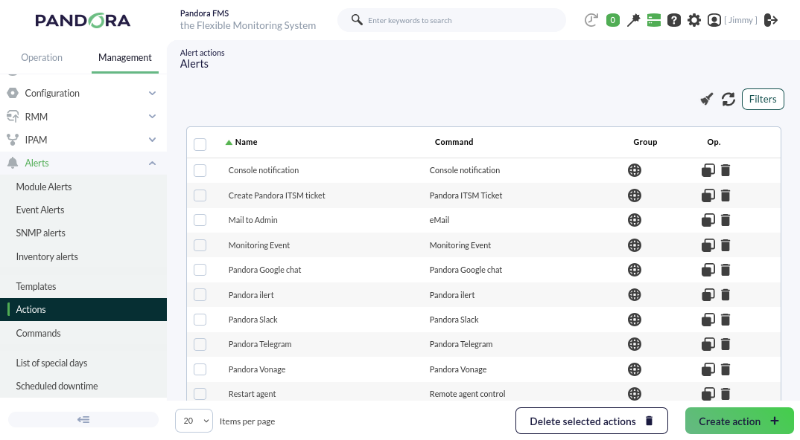
Edit the Mail to Admin action (by clicking on its name) and use this example as a reference:
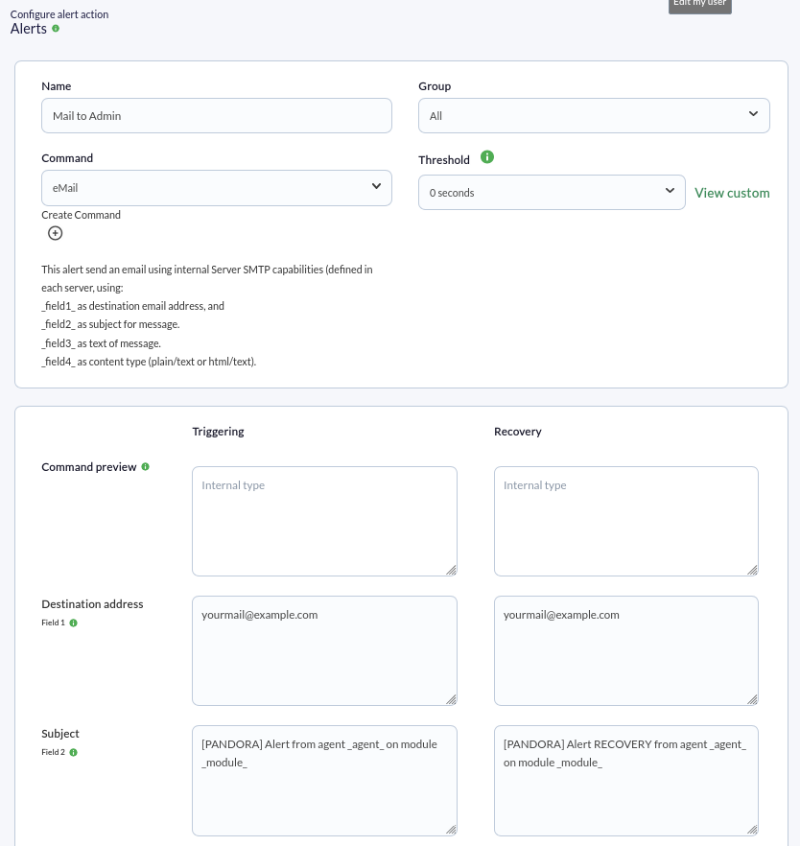
Field 1 (Destination address) will be modified and the destination mailbox address will be placed.
In field 2, leave the text that is in the capture. Here two macros ( _agent_ and _module_ ) are being used which will replace the name of the agent and the module that generated the alert at runtime.
There are about forty macros that you can use to obtain values when executing alerts. See the documentation.
Field 3 can be used to give body to the email, in HTML or plain text:
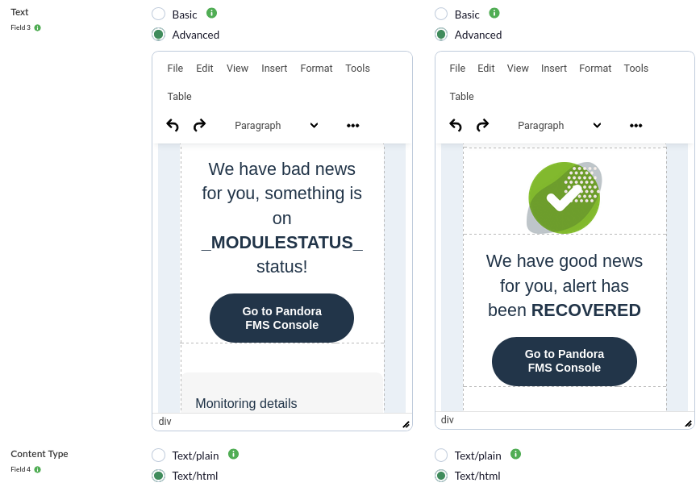
Although Pandora includes an HTML viewer, we recommend that if you are going to compose emails in HTML, copy and paste the code here

If you have not modified the default action, the HTML template of the email will be similar to this. You can modify it later, now let's see how alerts are assigned.
Assigning the alert to a module

Now we add the module (for example, Host Alive), the template (Critical Condition) and the action that we configured in the previous step ( Mail to XXX ). Add the alert:
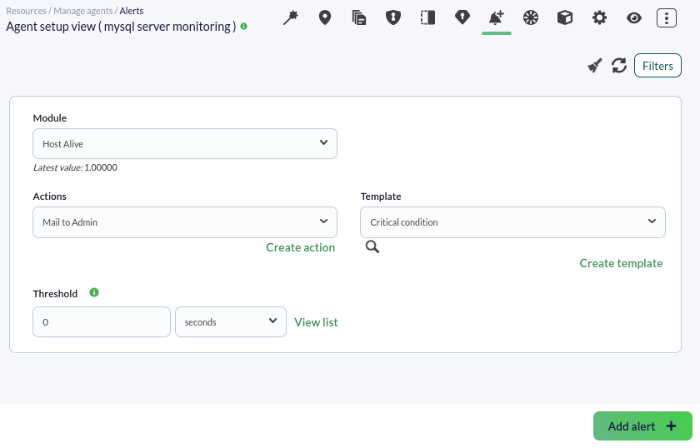
Once added, we can observe it in the agent view checking if it is running or not, by looking at the color of its status:

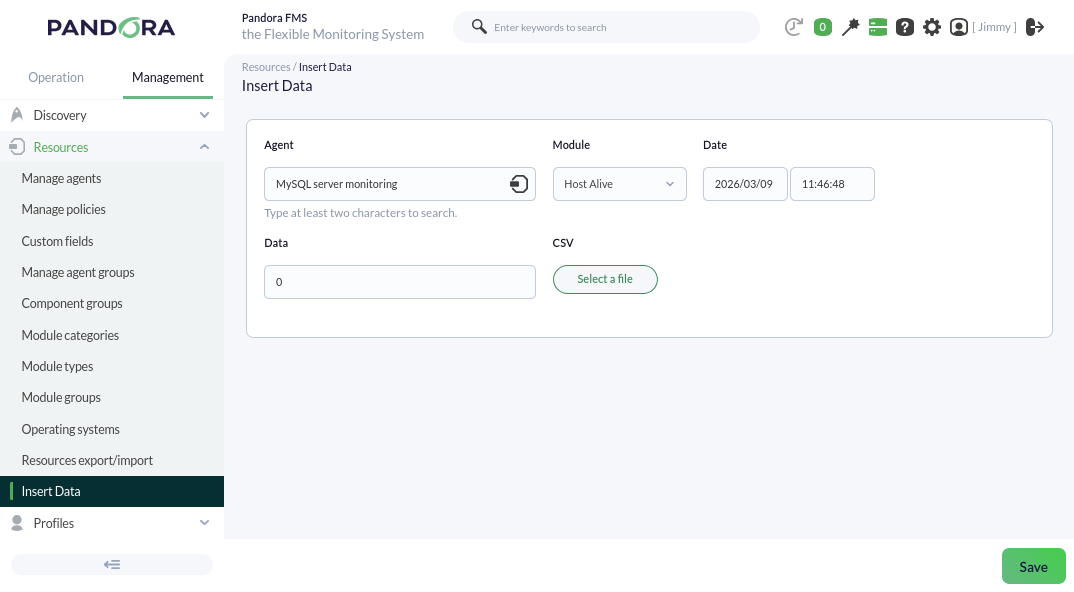
We can wait (or force) the host to go down to see if the alert works; one way is to insert a zero value directly into the module, which is of true/false type:
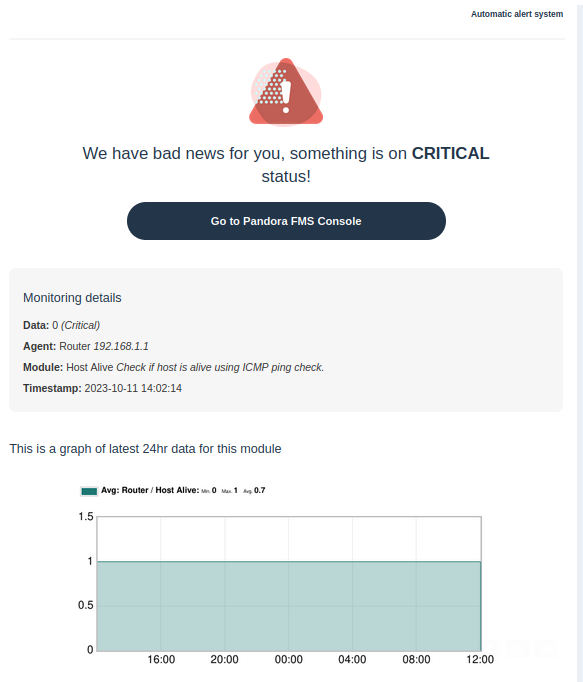
An email with the alert should arrive at the mailbox:
Are you not achieving the results explained in this chapter? Access the help or support section.