
Creation of map 2 (Child map)
In the second map you will create an element indicating the status of one of the main agents, attached to it all the given modules. You will visualize in this map also a graphic of the FreeRAM module of the same agent.
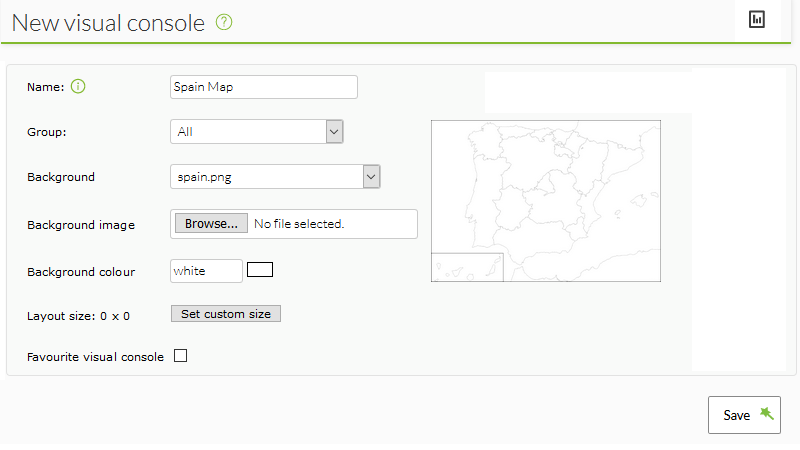
The first step is to create the new map as you did in the previous step:
Once created, add the element showing the agent status in the Static Graph section:

Also create the graphic with the attached configuration by clicking on the graphics icon, adding the agent and module from which the graphic is to be mirrored.
Now that you have created the main element of the map, you must create a new element for each of the modules that exist in the agent. To do this, use the Wizard making its configuration as you see in the attached screenshot. Select Static Graph of the agent and the modules that are indicated. We place as label the name of the module and assign to this one a parent previously created in the Visual Map, in this case the previous element added.
After creating all these elements, they will appear attached to the main element and you can move them by dragging them directly with the mouse in the desired position.

.