
13. Visual Console Creation
Parent visual console creation
In this first map we are going to add the status of several agents distributed in a world map. It can be done manually, one by one or through the Wizard. To make its creation easier, we are going to use the Wizard in the example.
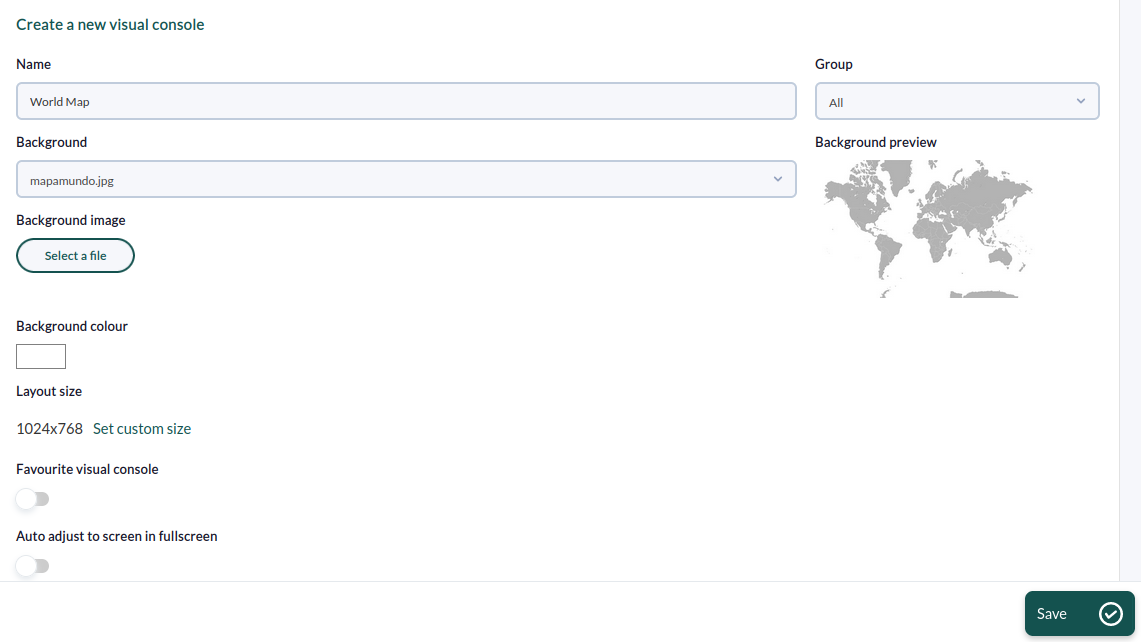
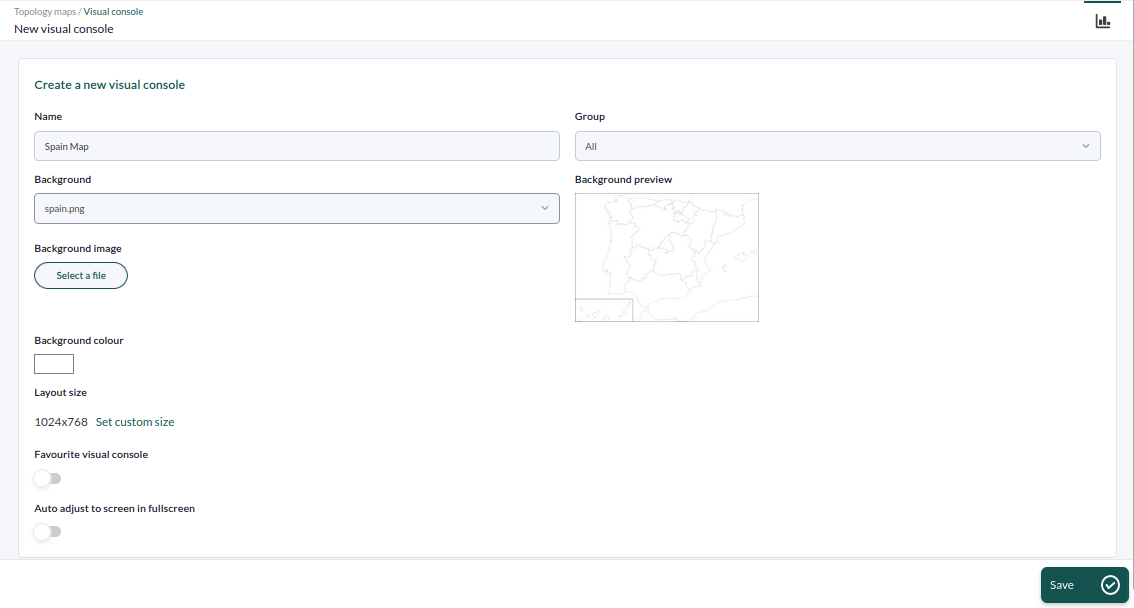
The first step is creating a new map, in this example called World Map.

Once created, click on the Elements Wizard:
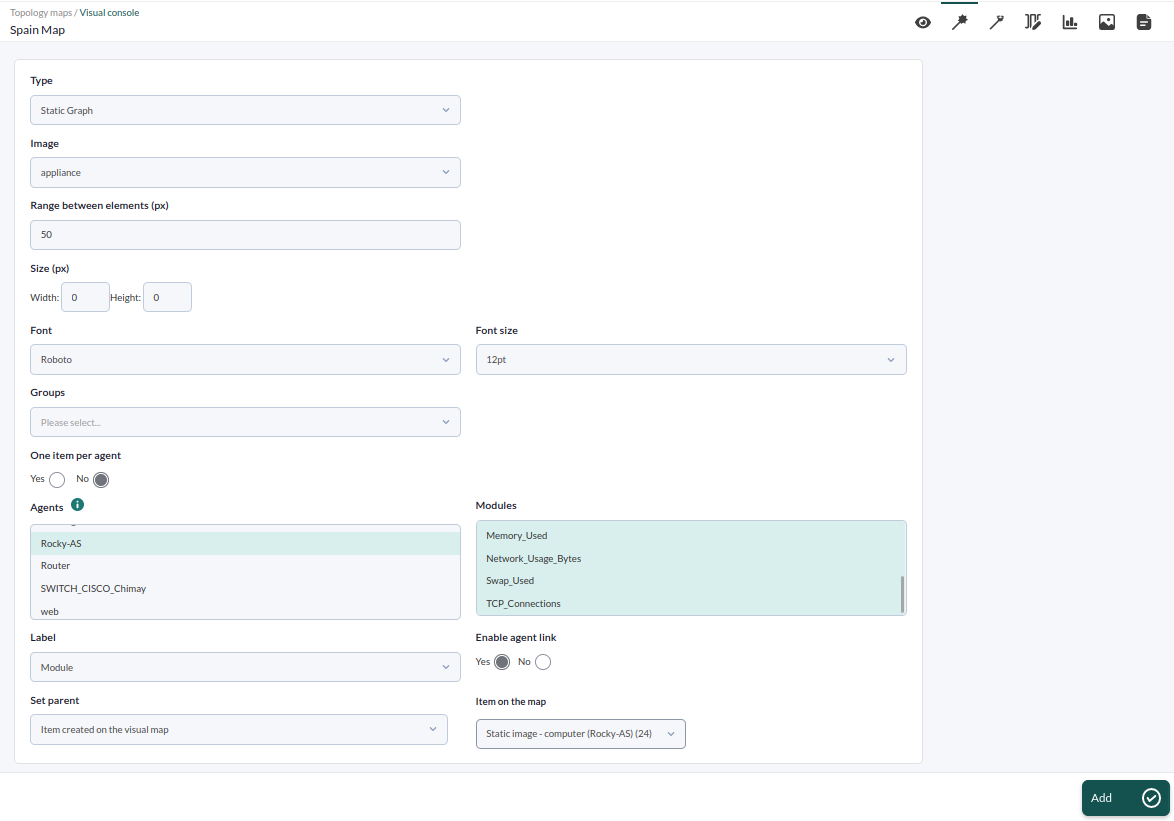
In the Wizard select the element type (in this example Static Graph) the image you want to use, whether you want to use an item by agent or by module, and select the agents you are going to add inside the list that appears.

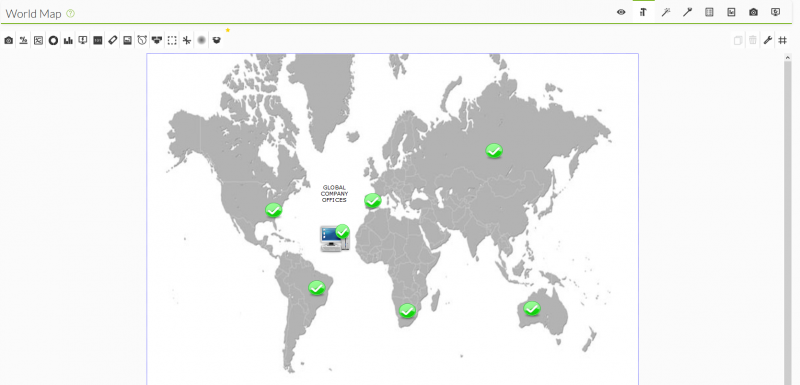
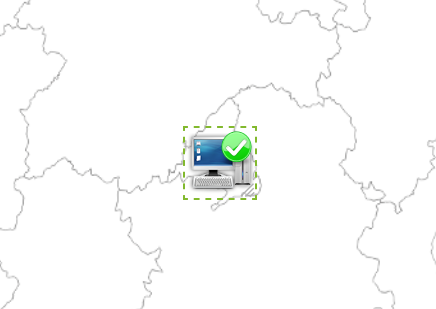
Click add, go to the "View" tab and all the elements created will appear on the map, as seen in the following screenshot.
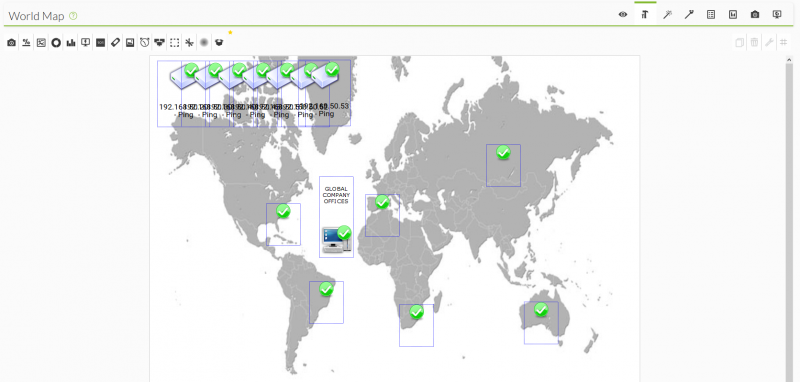
Move all the elements to their appropriate map positions, by clicking and dragging them over it.
To move or add elements we must enable the "Edit" token.
Child visual console creation
In the second map, an element that indicates the state of one of the main agents will be created, together with all the given modules. You will also see in this map a graph of the DiskUsed_/ module from the same agent.
The first step is to create the new map like before:
Once created, add the element that shows the state of the agent in the Static image section, as in the attached image:
 |  |
Create the graph with the attached configuration, clicking on the Basic chart icon, adding the agent and module that you are going to see represented in the graph.
 |  |
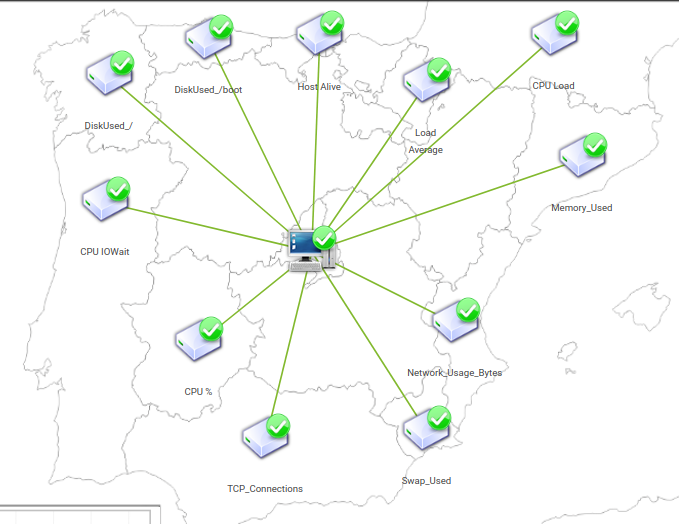
The main element of the map is created. Now create a new element for each of the agent modules. For that, use the Wizard configuring it as seen in the attached screenshot. Select the agent Static Graph and the modules you indicate. Set as label the module name and assign to this item a parent previously created in the Visual Map, in this case the previous element that you added.
 After creating all these elements, they will appear together with the main element and you may move them dragging them directly with the mouse to the position you wish.

Map linking
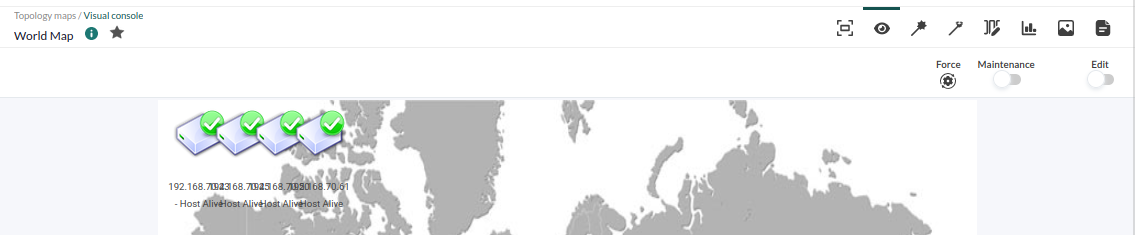
In the previous steps we created the two maps. In this step we will indicate how to click on the element located on Spain in the "World Map", opening directly the map "Spain Map".
To do that, open the World Map in edit mode by double-clicking on the element 192.168.70.45. This will allow to edit the element, click on advanced options and in the option Linked Map, select Spain Map. Update the element by clicking on the OK button.
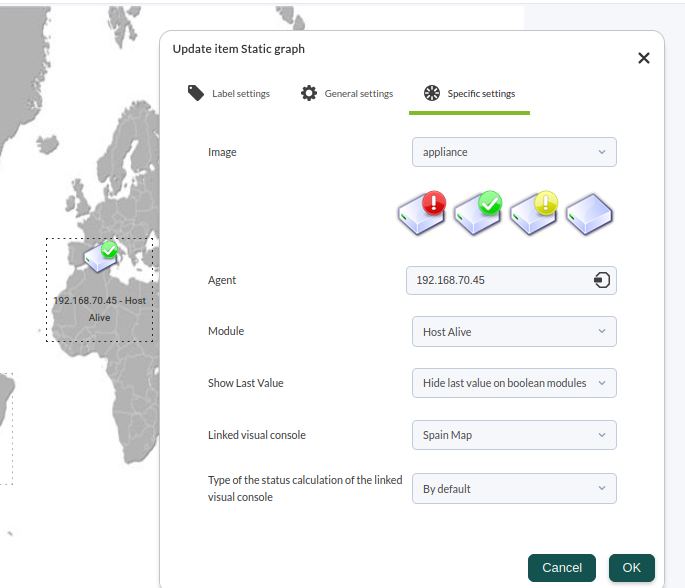
When you return to the World Map view, click on the item above Spain and the map of Spain will open directly. If there is only one element in red on the map of Spain, the icon representing Spain on the parent map will also be displayed in red.
 |  |
Did you not get the results expected for this chapter? Go help or support