
Configuration in pandora
As a server plugin
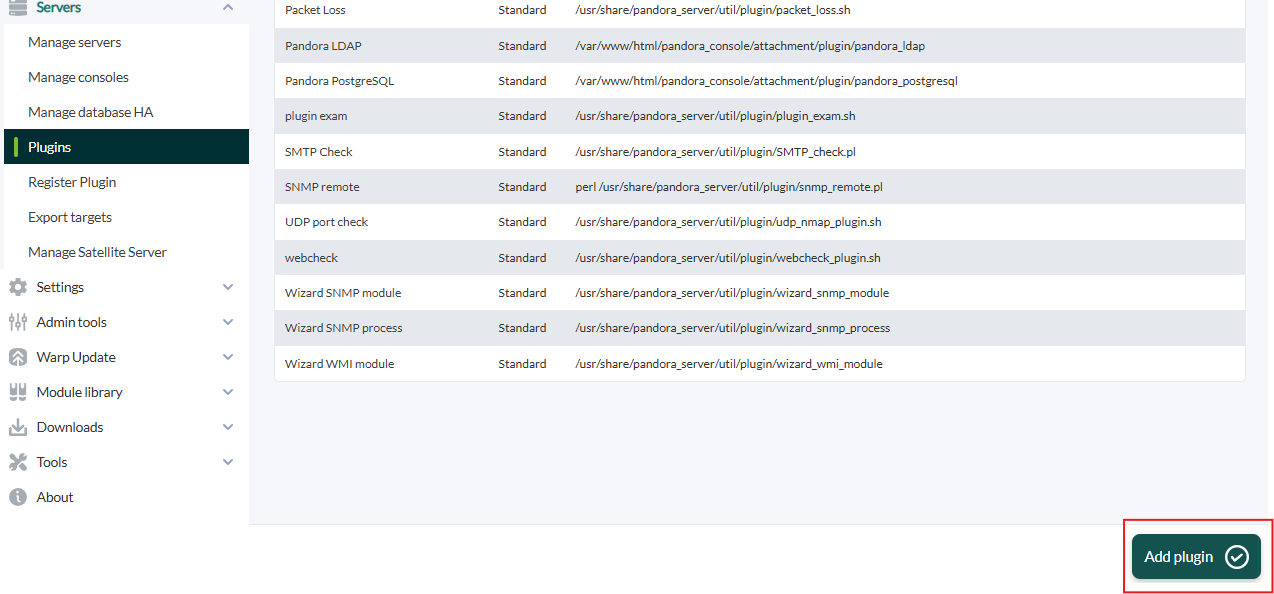
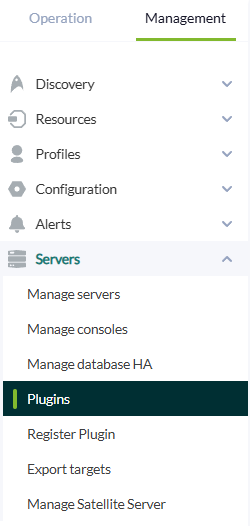 click in "add plugin":
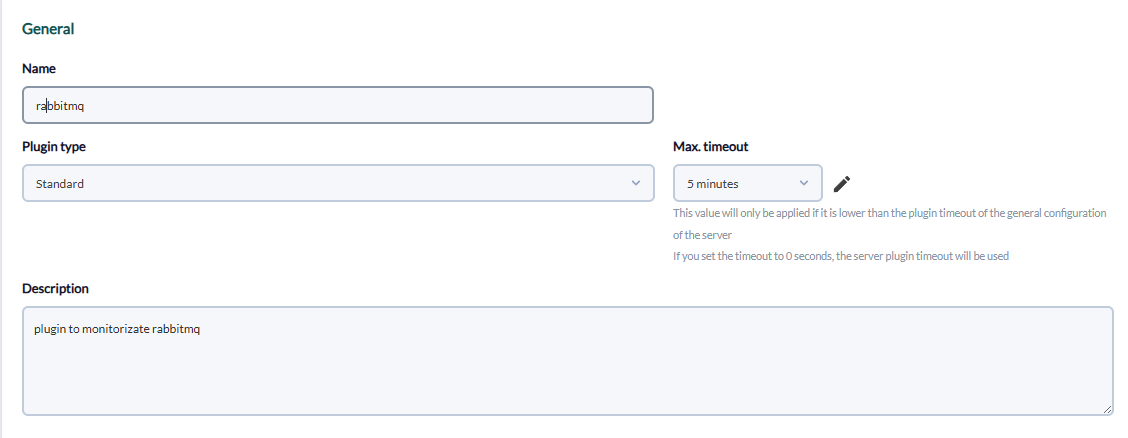
We put in the name and description of your choice:
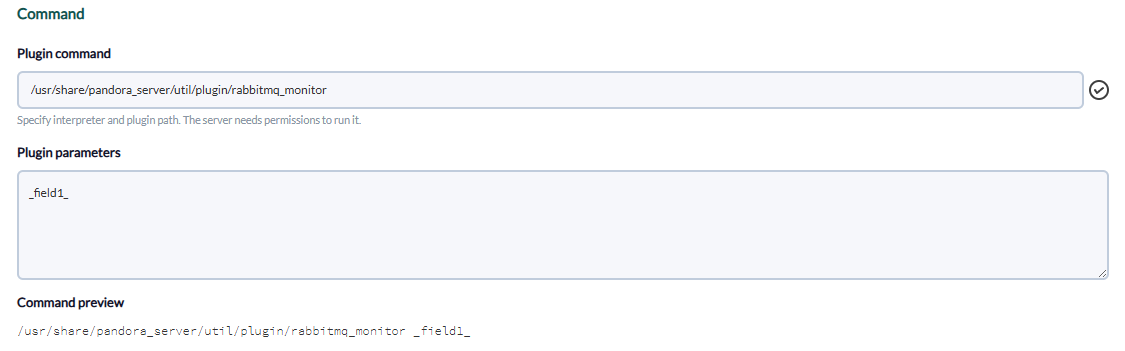
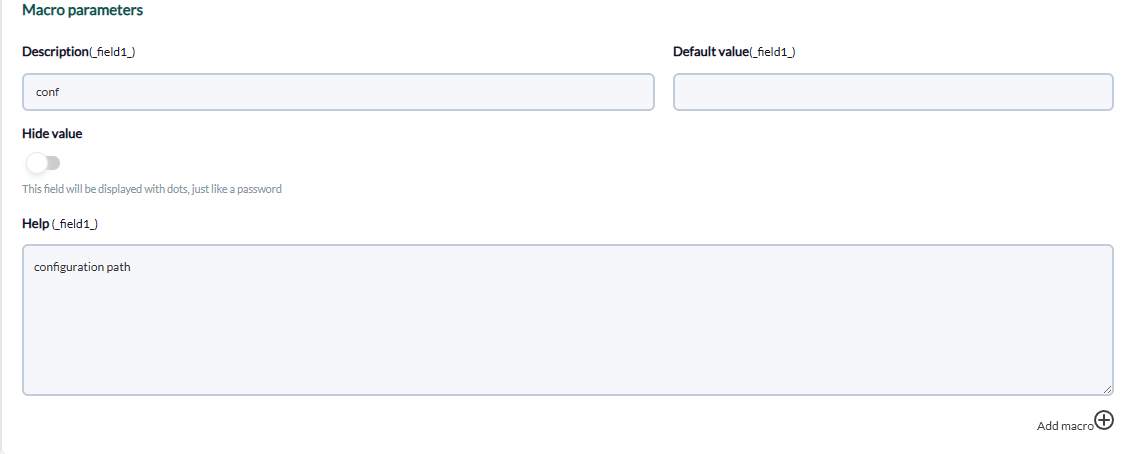
We enter as command the path to the plugin, and as parameters the ones we have entered by executing the plugin, the "_field_" fields are macros defined below.
We put for each macro the description of your choice and as value the data of your rabbitMQ
As agent plugin
We should enable the remote configuration, to enable it we have to open the pandora_agent.conf file:
vim /etc/pandora/pandora_agent.confInside we look for the remote_config line, to enable it we set it to 1.

And after that we restart the agent :
/etc/init.d/pandora_agent_daemon restartThe remote configuration will have been activated, go to the agents menu and click on the remote configuration icon, which is as follows:

Then we go to plugin menu :

We enter the command, click in add:

Example:
/usr/share/pandora_server/util/plugin/rabbitmq_monitor /usr/share/pandora_server/util/plugin/rabbitmq_monitor.confA new plugin will have been created:

Once this is done, we restart the agent:
/etc/init.d/pandora_agent_daemon restartAnd if we go to the agent with the remote configuration, the rabbitMQ modules will have been created.