
Configuration
JOLOKIA INSTALLATION
Download the Jolokia agent from the official website: https://jolokia.org/download.html
Jolokia Agent Securisation (WAR)
You can assign security policies to restrict both access and use of the options available in the Jolokia agent.
These restrictions can be specified in a policy XML file. This file is divided into sections with which you can control various parameters:
IP-based restrictions
General access can be allowed based on the IP address of an HTTP client. This restriction is specified in the<remote> section, it will contain <host> elements. The source can be an IP address, a hostname, or a network in CIDR format.
The following example allows access from localhost and all clients on the network
10.0.0.0/16:
<remote>
<host>localhost</host>
<host>10.0.0.0/16</host>
</remote>
Command Restrictions
You can restrict the commands that will be allowed to be executed in a general way, by specifying which commands are allowed. To do this, use the <commands> section by specifying each command with a <command> element.
The following example enables the commands READ, LIST, SEARCH and VERSION . The other commands ( WRITE, EXEC ) would not be available:
<commands>
<command>read</command>
<command>list</command>
<command>version</command>
<command>search</command>
</commands>
There are restrictions on mbeans queries and request sources. Full help is available at the following link: https://jolokia.org/reference/html/security.html
https://pandorafms.com/guides/public/link/233#bkmrk-ejemplo-de-pol%C3%ADtica-
Example security policy
This example allows connection from localhost and network 10.0.0.0.0/16. The available commands are also limited to READ,LIST,VERSION and SEARCH.
<?xml version="1.0" encoding="UTF-8"?>
<restrict>
<remote>
<host>127.0.0.1</host>
<host>localhost</host>
<host>10.0.0.0/16</host>
</remote>
<commands>
<command>read</command>
<command>list</command>
<command>version</command>
<command>search</command>
</commands>
<http>
<method>post</method>
</http>
</restrict>
Inclusion of a security policy
To repackage a policy in the WAR file of the Jolokia agent, you must follow these steps
following steps:
# Donwload war agent
$ jolokia
Note: You can download it manually from: http://search.maven.org/remotecontent?filepath=org/jolokia/jolokia-war/1.5.0/jolokiawar-1.5.0.war
# Download the sample policy template
# in the local directory as "jolokia-access.xml".
$ jolokia download --policy
Note : If you received errors when executing the previous steps, you can download the sample policy from http://www.jolokia.org/templates/jolokia-access.xml.
Edit the policy and place the jolokia-war-VERSION.war file and the jolokia-access.xml file in the same directory.
# Repack the to add the policy file 'jolokia-access.xml' form the cwd
$ jolokia repack --policy jolokia.war
You should receive an output similar to the following:
$ jolokia repack --policy jolokia-war-1.5.0.war
* Adding policy WEB-INF/classes/jolokia-access.xml to
jolokia-war-1.5.0.war
You can perform a verification of the contents of the WAR file with the following command:
# Show current state (policy file include: yes/no)
$ jolokia jolokia.war
Jolokia on WebSphere
To install the proxy on IBM Websphere. Perform the following steps:
Select from the side menu:
Applications > New Application
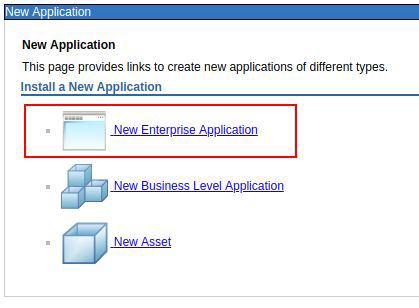
Select the Jolokia WAR file.

Press next .
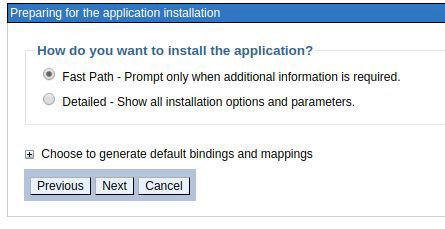
Keep the default options and press next.
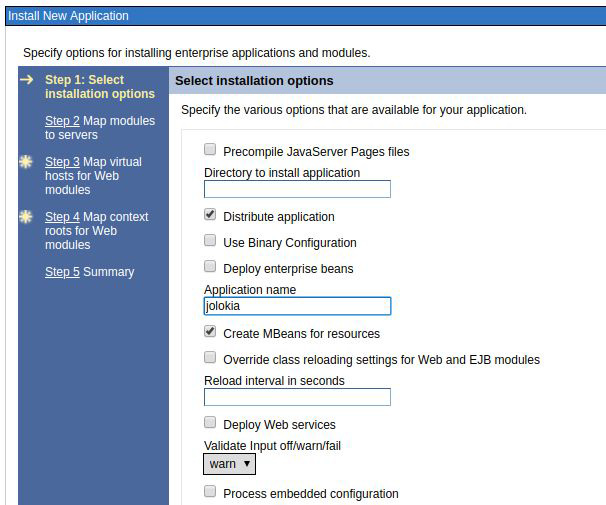
Modify the name of the application to "jolokia", no further changes are necessary on this screen. Press next.

Select the check box to map the new application to the desired server. Click next.

Select the check box to map the default virtual host. Click Next.
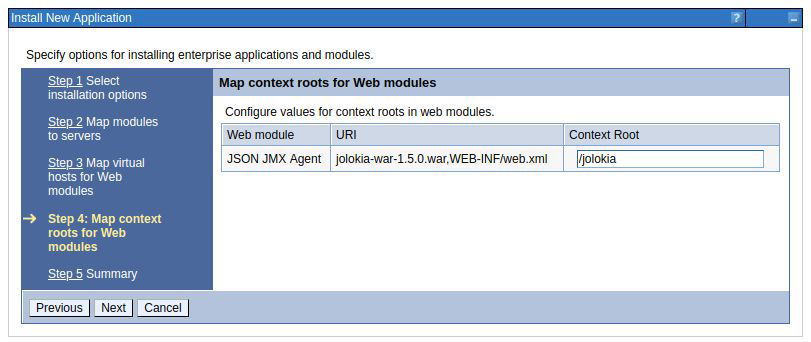
Set the root context of the application to /jolokia.
Press next.
Check the summary. Press finish.

Verify in the presented log that the application has been installed successfully. If so, press "Save directly to master configuration".
The application is now deployed. We will have to start it to be able to interact with it from the JMX plugin.
You should receive a message that the application has started successfully:

You can validate the installation of Jolokia at the following link:
https://localhost:9443/jolokia
You should receive an output in JSON format with general information about the Jolokia agent.

Jolokia on WebSphere with security enabled
To use the JMX plugin for data extraction from security-enabled IBM WebSphere environments, it will be necessary to make modifications to the Jolokia application (Jolokia file).
enabled environments, modifications to the Jolokia application (WAR file) are required.
WAR FILE).
Enable role-specific security mapping
This step adds the information for the role mapping to the jolokia.war file, which we will subsequently
later deployed on our application server.

IBM WebSphere Application Server Configuration
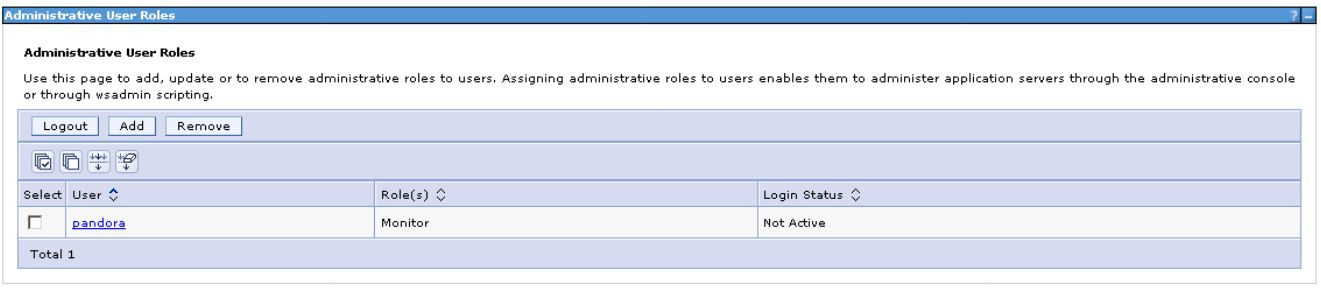
You will need to create a user with monitoring permissions. Users and groups > Manage users > Create user

And assign it the specific role "Monitor": Users and Groups > Manage User Roles > Add
Once the user has been created and the correct role has been assigned, we carry out the mapping in the Jolokia application configuration:
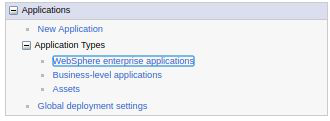
Applications > Company applications > Jolokia > Security role mapping to user/group.
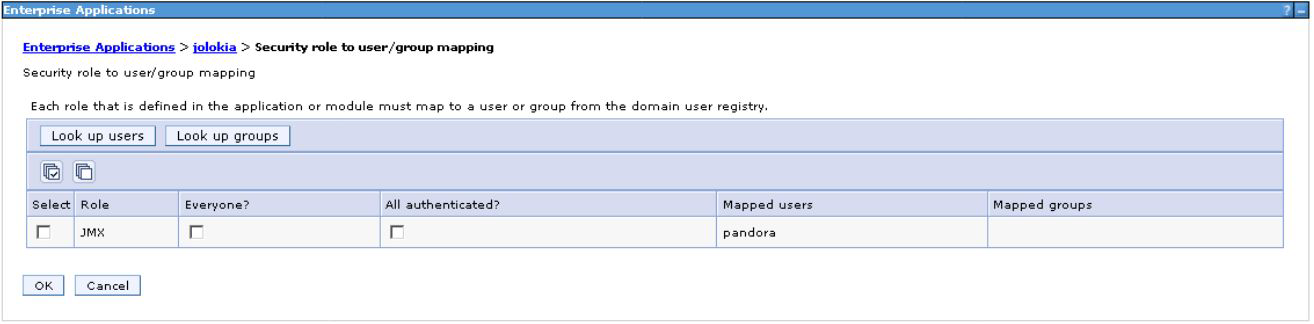
Once the configuration is done, save the changes and restart the Jolokia application.
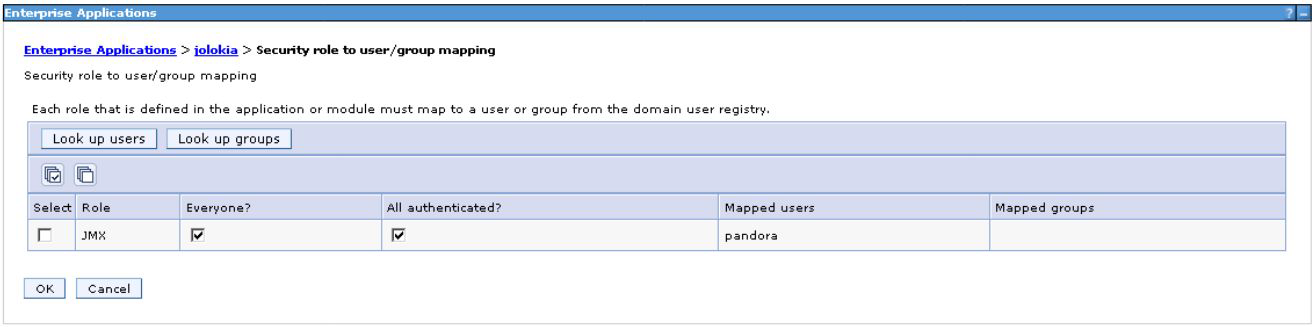
NOTE : It has been confirmed that in older versions of IBM WebSphere, there is a need to perform the user mapping by adding the ALL group to the mapping with the supervisor role
mapping of users by adding the ALL group to the mapping with supervisor role:
https://pandorafms.com/guides/public/link/233#bkmrk-los-cambios-a-realiz
The changes to be made are:
Activate "all" and "all authenticated" in the JMX - user mapping in the configuration of
Jolokia configuration:
Link the requests of the "All" group in group management:

Jolokia on Weblogic
Previous steps
To ensure full functionality of the JMX plugin in Weblogic, you should check a number of previous configurations. If you decide to skip these steps, monitoring may be limited.
Note : If your monitoring needs are limited to application listing, status, number of invocations, resource consumption and general application server status, you can ignore this section.
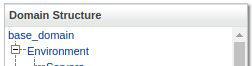
Access the server configuration screen at:
Base Domain > Environment > Servers

Press Lock and Edit to enable editing of the configuration:
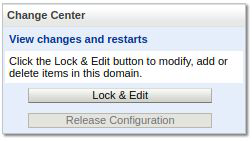
Click on the server where the Jolokia application will be deployed:

Habilite IIOP

Press save .
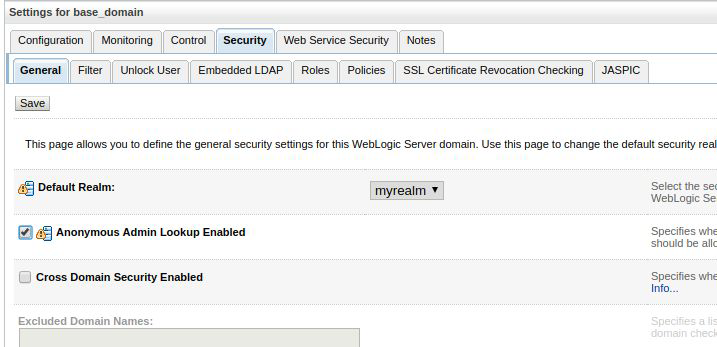
Select Base Domain from the menu
On the Security tab, enable Anonymous Admin Lookup:
Deployment of Jolokia
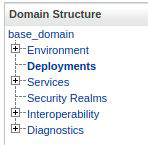
On the screen that appears, select the Install option.
Select the upload your file(s) link to display the file upload form:

Select the Jolokia WAR file from your computer and press next :

The location will be populated with the WAR file upload path. Press next
to start the installation process.

Select the custom role security model and press next .
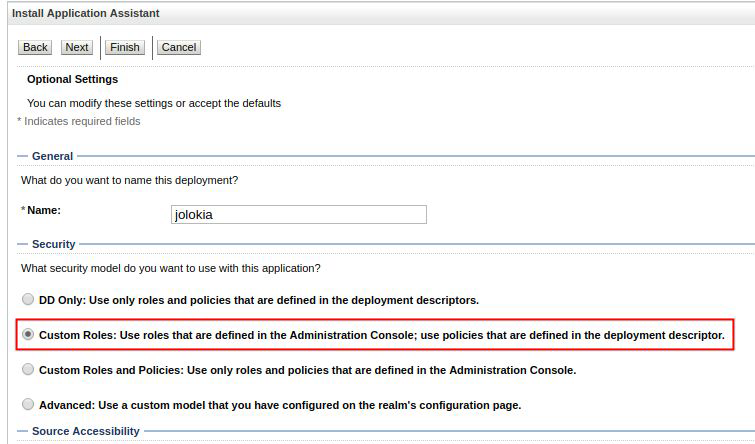
Update the name of the deployment and keep the proposed configuration.
Press Next .
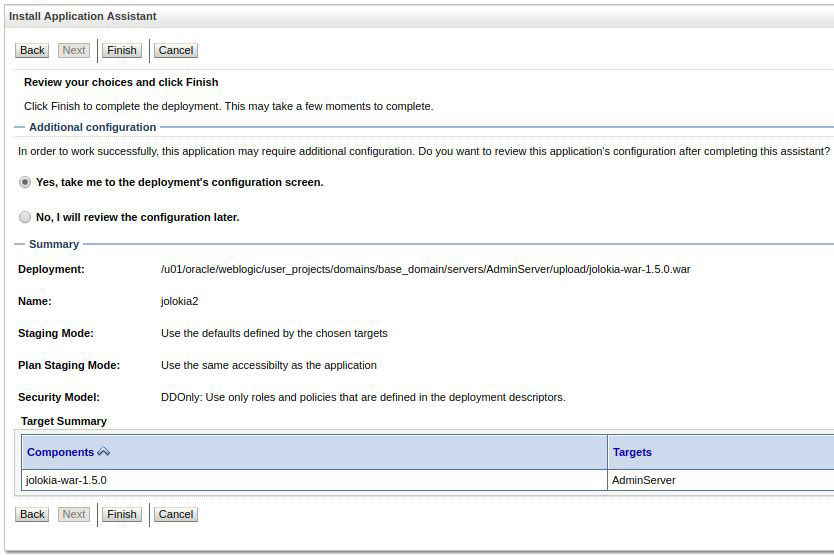
Click Finish .
At this step, the application is deployed on the JMX application server. In
the Configuration tab, select the entry point from where the service will be served, by configuring the
service, configuring the "root context":

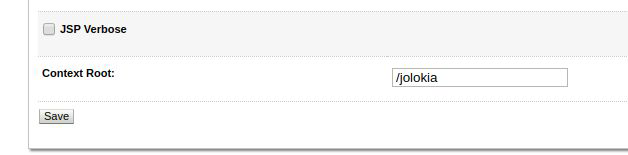
Press save to save your changes.
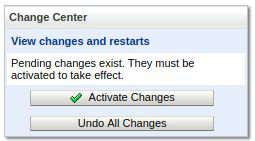
https://pandorafms.com/guides/public/link/233#bkmrk-presione-activar-cam
Press Activate changes to apply the changes.
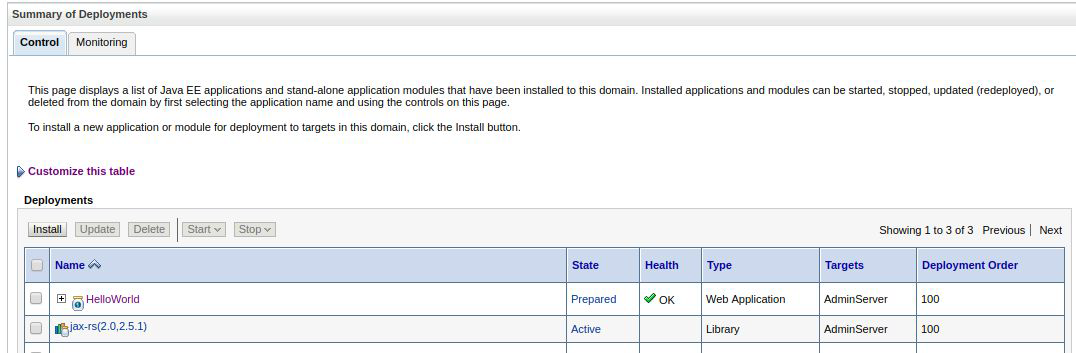
Once the changes have been applied, the Jolokia application will be displayed ready to be started.
to be started:
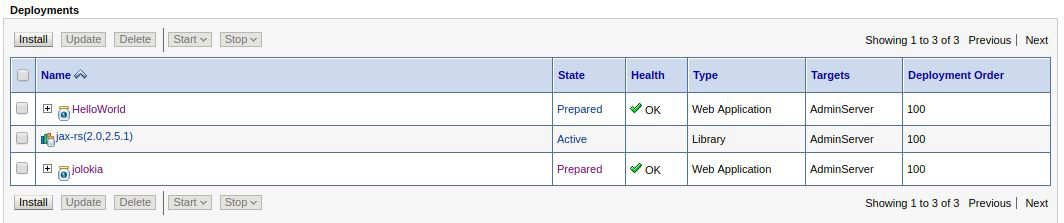
Select the checkbox and click start > Start all requests

After the start-up process, the application will appear as Active .

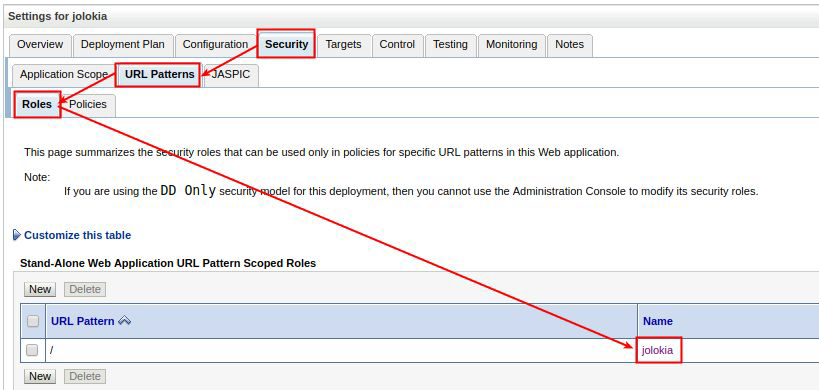
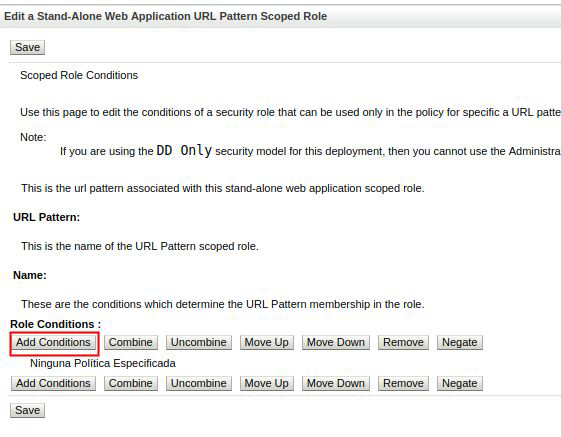
Edite el rol de seguridad de la aplicación para agregar las condiciones de acceso que desee (permitir grupos, usuarios, etc.)
You can validate the installation of Jolokia at the following link:
https://localhost:7001/jolokia
You should receive an output in JSON format with general information about the Jolokia agent.

Jolokia in Apache Kafka
To monitor an Apache Kafka server, the JVM agent Jolokia is required instead of the WAR agent. Just download it from the official website:
https://jolokia.org/download.html
Get the PID of the Apache Kafka server:
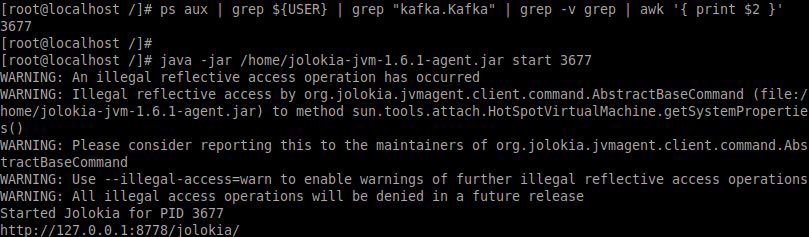
And we relate the JVM agent to the server by means of the server with
$ java –jar agente.jar start pidYou can validate the installation of Jolokia at the following link:
http://localhost:8778/jolokia/
JMX4PERL INSTALLATION
On the computer where you will run the JMX plugin you will need to install the necessary Perl libraries:
JMX::Jmx4Perl
JMX::Jmx4Perl::Alias
JMX::Jmx4Perl::Request
To install the libraries you need an internet connection and CPAN.
# cpan install JMX::Jmx4PerlAlthough the following applications are extremely useful for exploring the mbean of our application servers, it is possible that they may conflict because of libraries or packages yet to be installed.
jmx4perl
check_jmx4perl
j4psh
j4psh
https://pandorafms.com/guides/public/link/233#bkmrk-en-un-entorno-de-pro
In a production environment we recommend ignoring suggestions for additional applications and installing only the JMX::Jmx4Perl library.
Do not respond to all requests to install additional components:
Install 'jmx4perl' ? (y/n) [y ]n
Install 'check_jmx4perl' ? (y/n) [y ]n
Install 'cacti_jmx4perl' ? (y/n) [y ]n
Install 'j4psh' ? (y/n) [y ]n