
Configuration in PandoraFMS
To configure the plugin in PandoraFMS, thefollow followingthese steps must be followed: steps:
1. Upload the plugin to PandoraFMS, for examplee.g. in the following path:
/usr/share/pandora_server/util/plugin2. Upload the Oculix JAR and the required .ocx scripts to the server, in a path accessible by the plugin.
3. Create the .conf configuration file with Pandora parameters:
[CONF]
agent_name=Oculix Login Test
agents_group_name=Oculix
module_prefix=
interval=300
agent_plugin=1
temporal=/tmp
transfer_mode=tentacle
tentacle_client=tentacle_client
tentacle_ip=127.0.0.1
tentacle_port=41121
tentacle_opts=
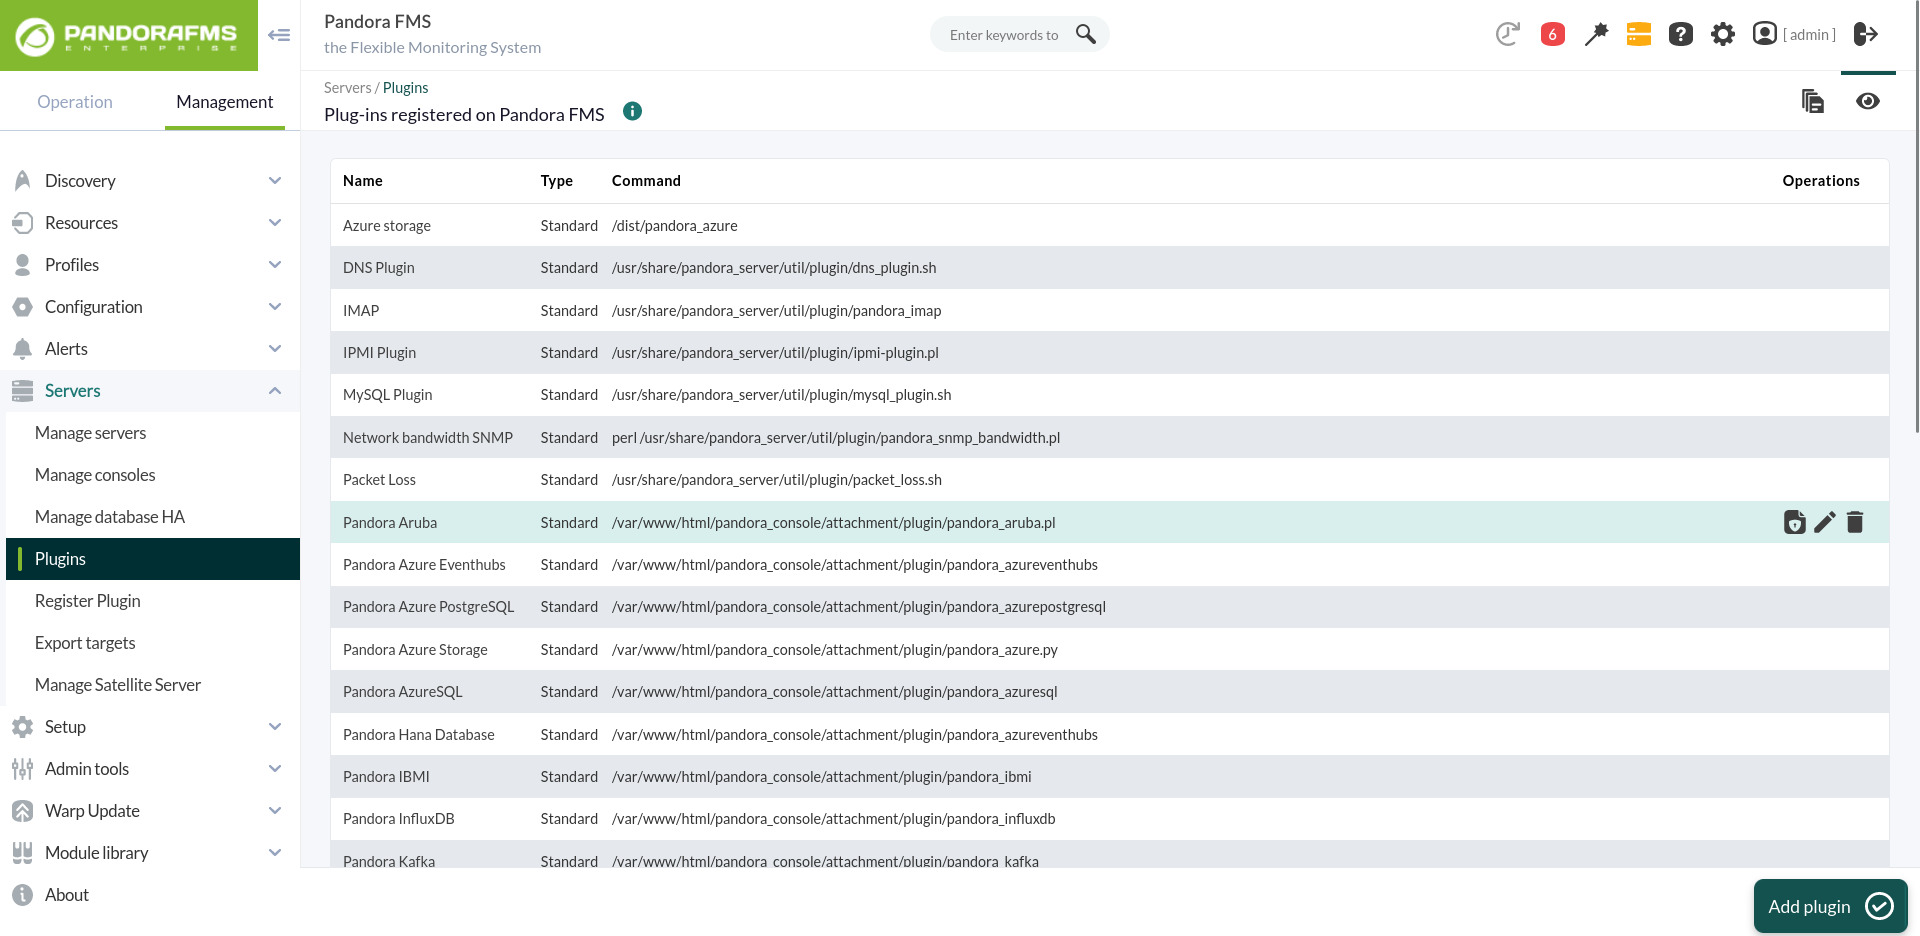
data_dir=/var/spool/pandora/data_in/4. Go to the plugins section and create a new one:
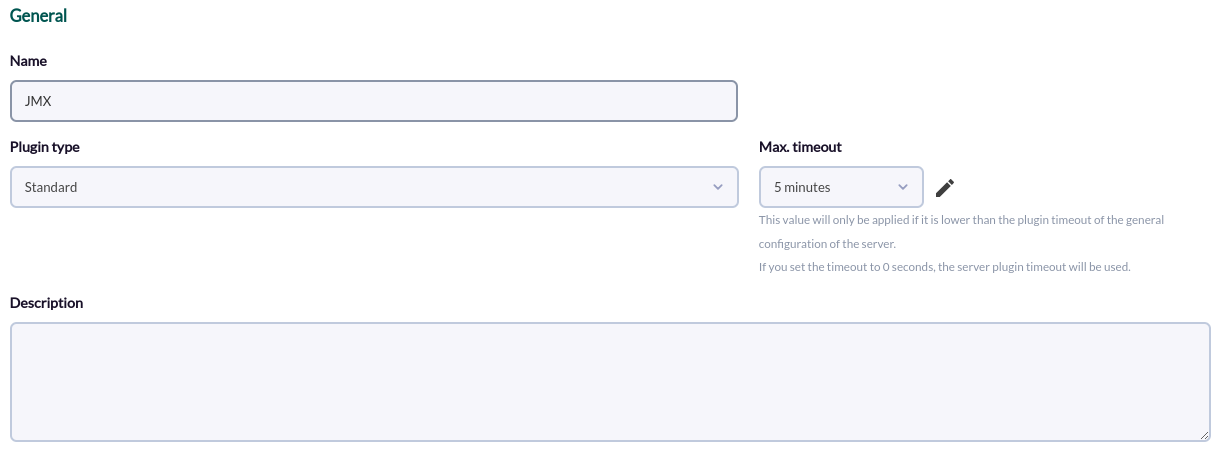
5. 3. Name, description and timeout are added:
4. The path ofAdd the plugin ispath added toin the command and the necessary parameters for its execution.
For each parameterparameter, a macro must be configured,configured. theThe macro syntax ofis: this macro being the following : _fieldx_,_fieldx_, where x is the positional number of the parameter.
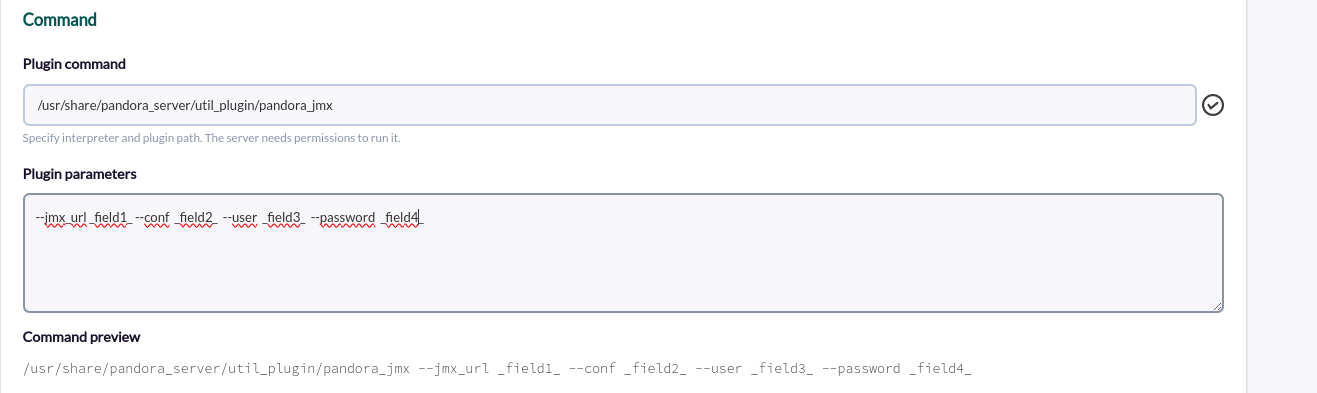
/usr/share/pandora_server/util/plugin/pandora_oculix.py --script _field1_ --jar _field2_ --conf _field3_5.6. TheConfigure previousthe macros are configured,above, adding the parameter value of the parameter in each one:
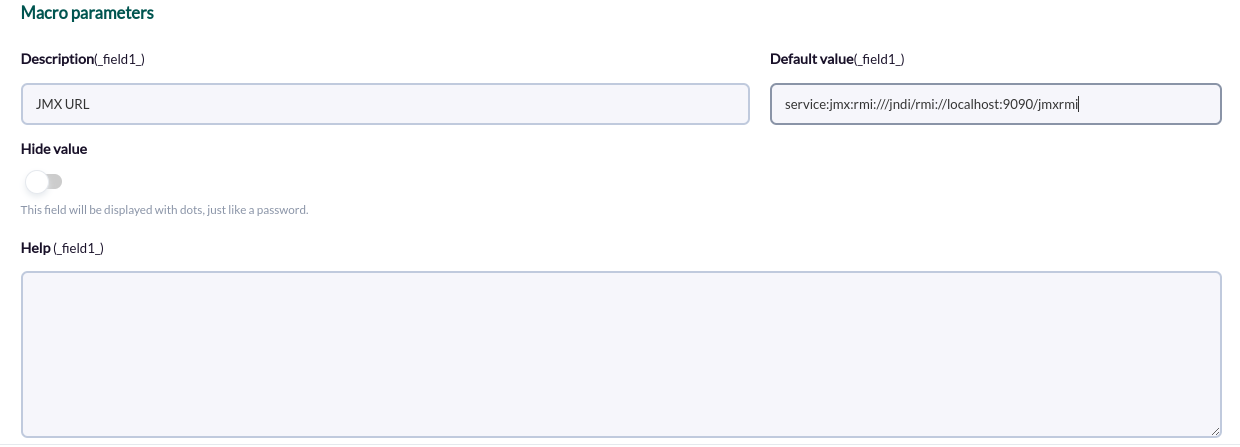
- _field1_ = /opt/oculix/scripts/login.ocx
- _field2_ = /opt/oculix/oculix.jar
- _field3_ = /opt/oculix/oculix.conf
6.7. Once configured, you should create a module must be created in an agent thatto executesrun the plugin. In the modules menu of an agentagent's wemodule menu, create a new plugin plugin-type module:
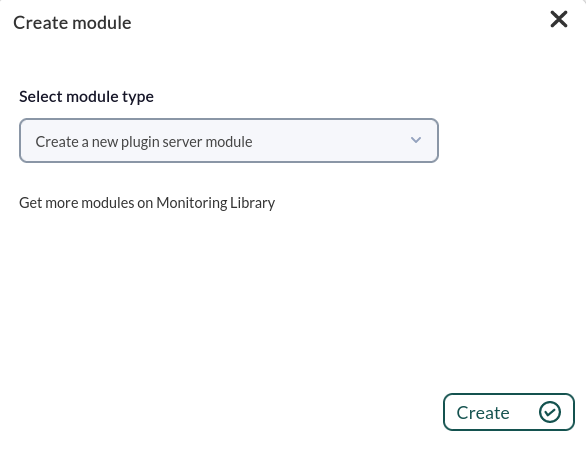
7.8. In the module configuration menu, wegive nameit it,a name, select the pluginpreviously configured beforeplugin, and click on "create".
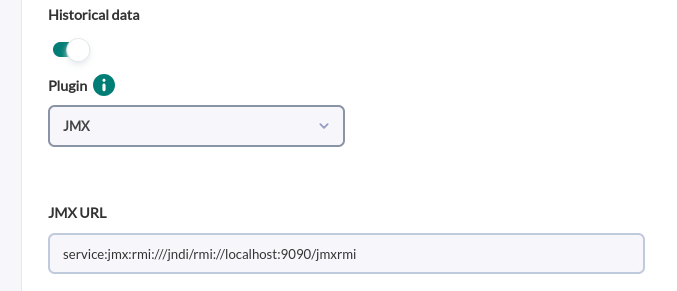
8.9. The agent with the modules will be created with the modules or the modules in the selected agent inon the next execution of the plugin.