
Configuration in pandora
Console installation
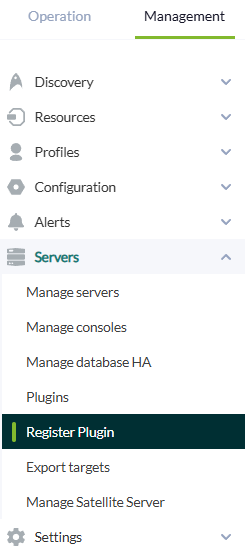
To register the plugin, from the console, go to the "register plugin" section.
Click on select file.
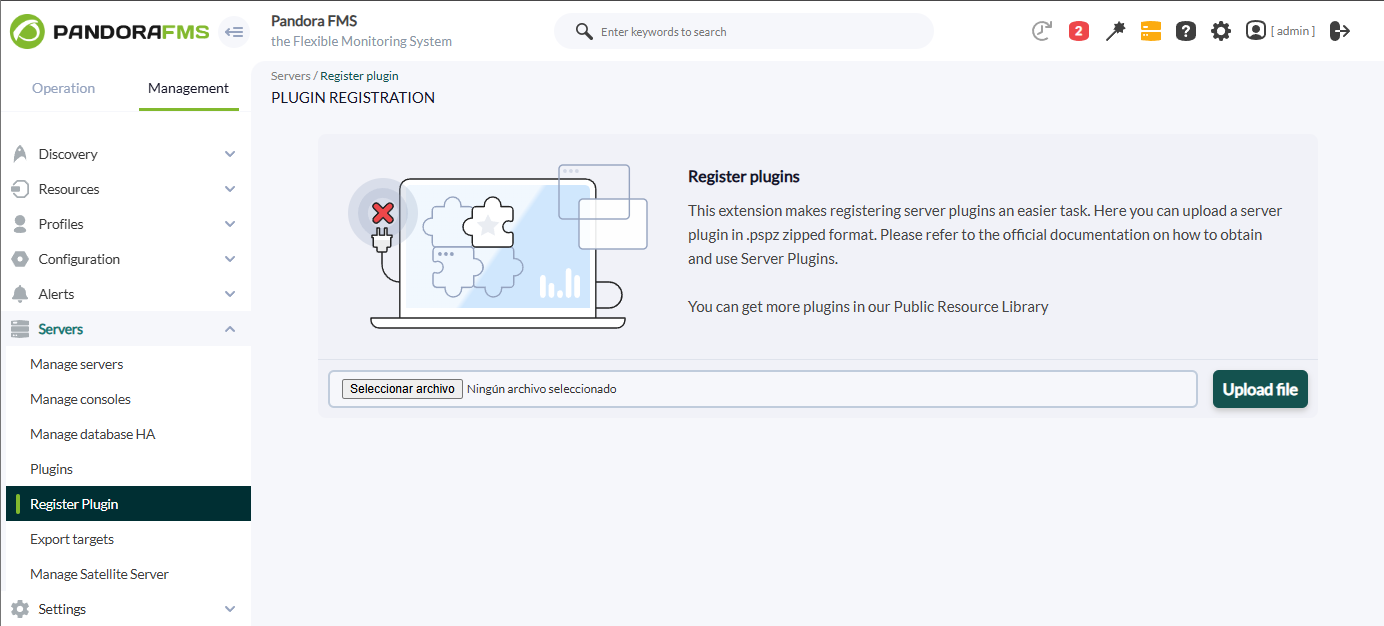
The .pspz2 file to be uploaded will be selected.

A message will appear informing that you have successfully registered.

Once the plugin is registered, we will see it in the plugins section.
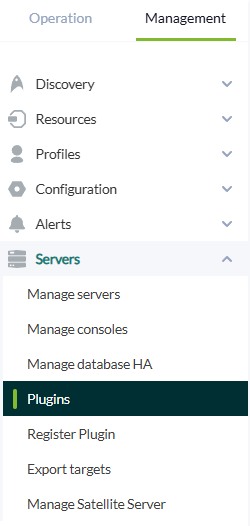
The plugin menu can be accessed by clicking on the plugin title

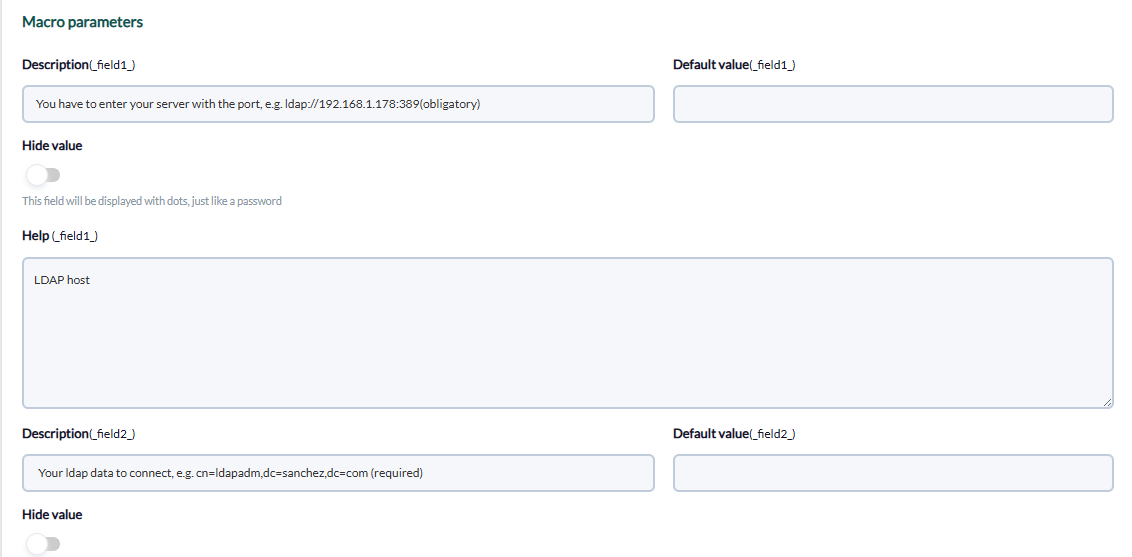
In parameters we will see the macro used by the plugin, this is not necessary to touch it
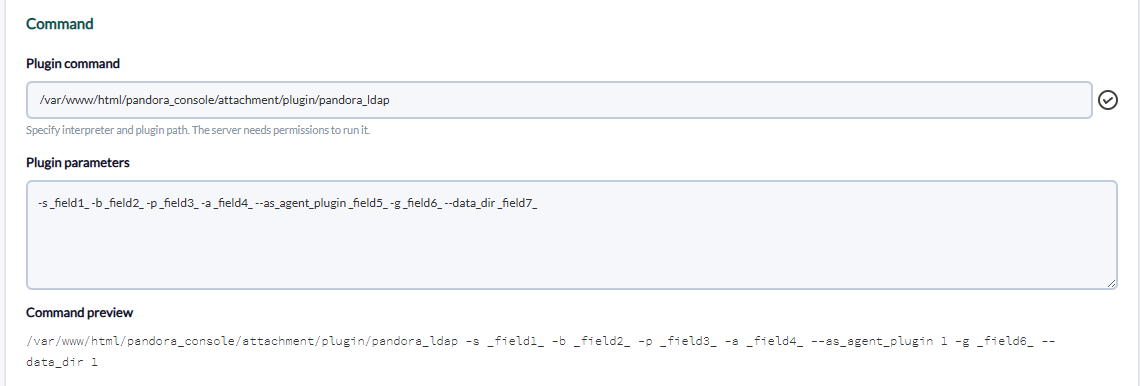
In the Default value field, we must enter the path to our .conf file.
Manual installation
The best way to manage server plugins in Pandora is from "/usr/share/pandora_server/util/plugin" so we will send it by pscp to that path:

Then we will move to the folder where we have put it ("/usr/share/pandora_server/util/plugin" is the recommended one").
Remember: You have to install the dependencies that the python ldap module needs in your system, it is explained in the configuration section.
We move from home with :
cd /usr/share/pandora_server/util/plugin/We run the plugin to see that it works:
python3 pandora_ldap.py -s <server> -b <binding> -p <password> -a <agent> [--as_agent_plugin] [ -g <group> ] [ --data_dir <data_dir > ]
With as_agent_plugin 1 we will be able to see an XML with the data that will be shown in the console:
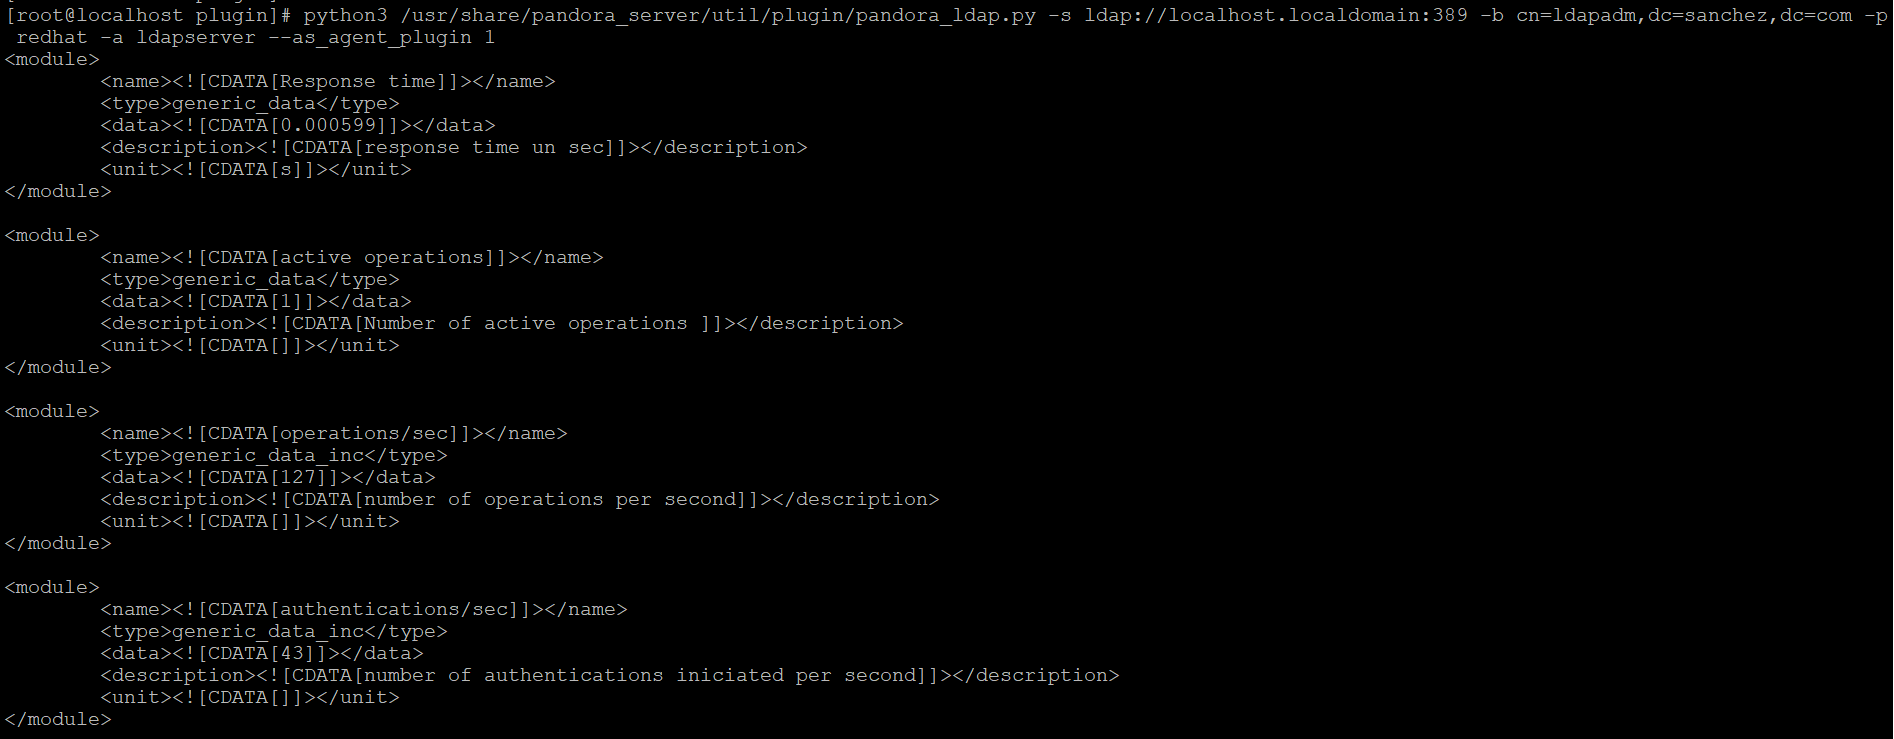
If we execute it in the first way, without "as_agent_plugin 1", we will have created an agent with the name we have given it in the -a parameter with all the modules.
Anyway, if you prefer to install it manually from the console, the process would be as follows:
As a server plugin
click in "add":
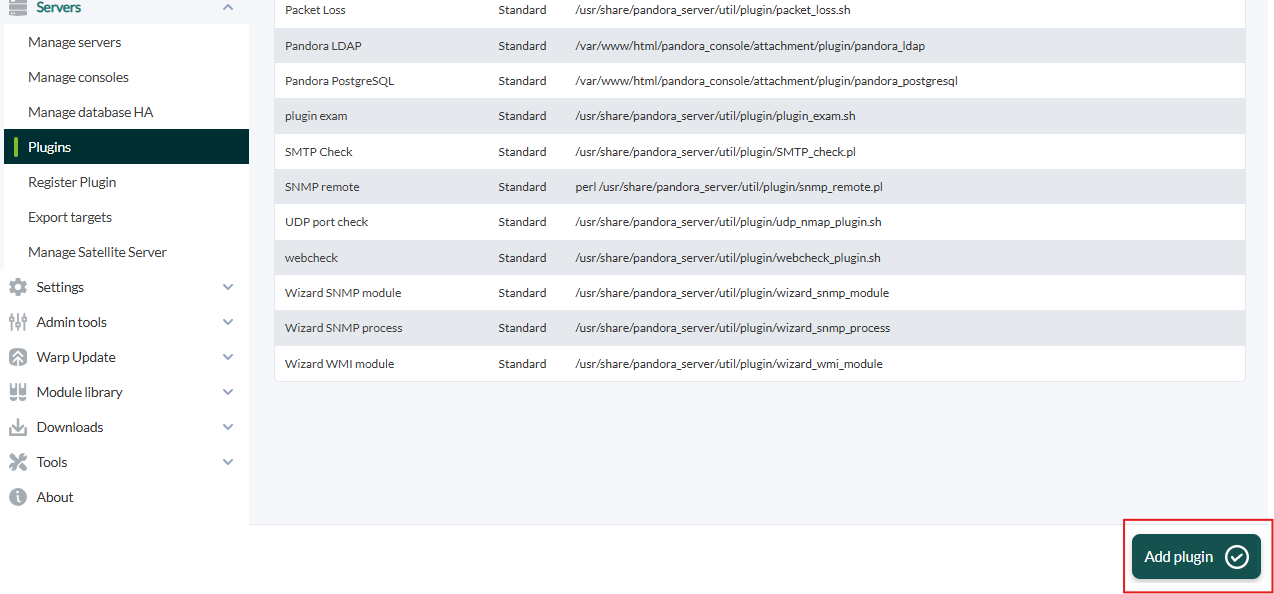
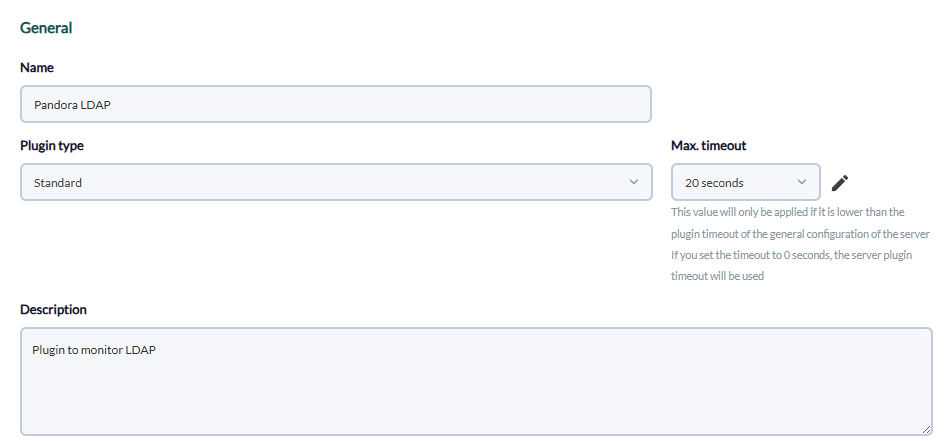
We put in the name and description of your choice:
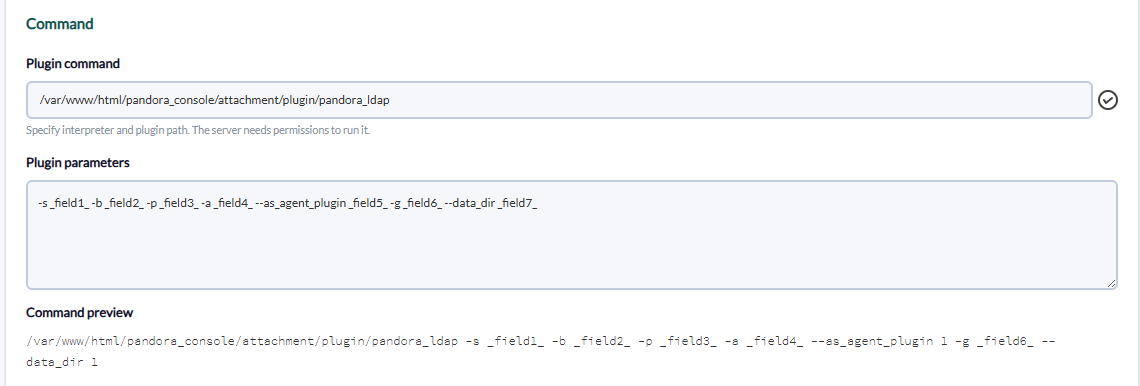
We enter as command the path to the plugin, and as parameters the ones we have entered by executing the plugin, the "_field_" fields are macros defined below.
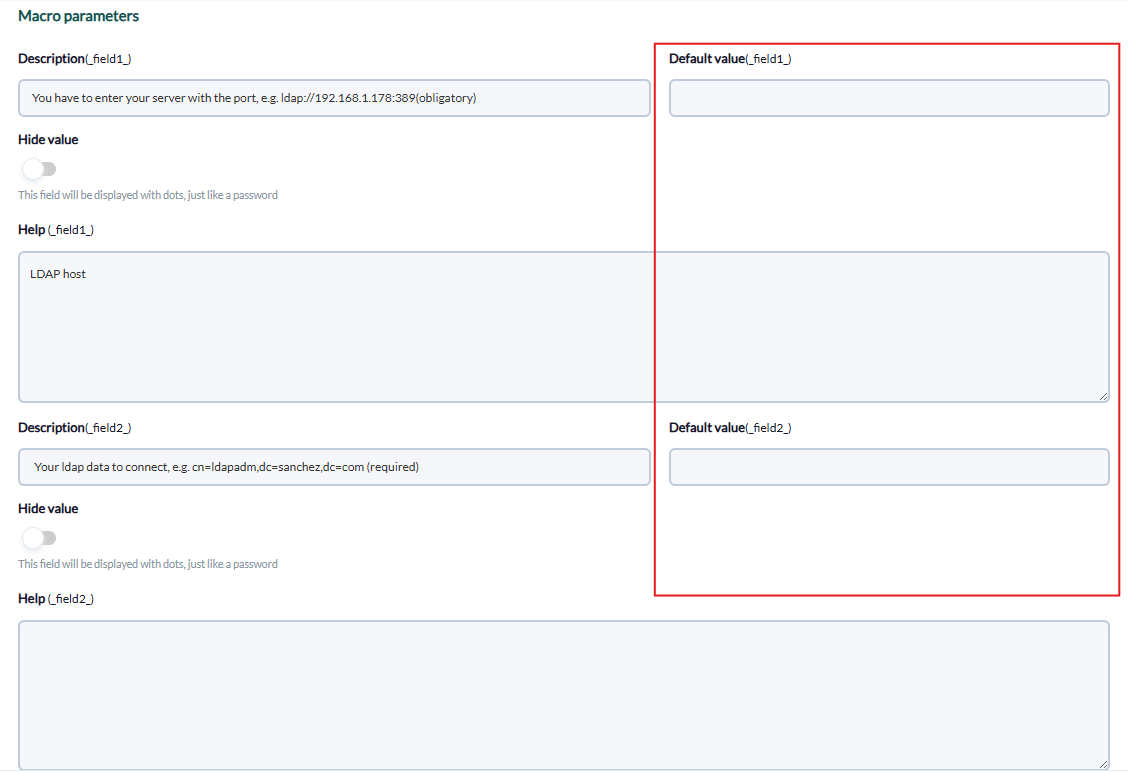
We put for each macro the description of your choice and as value the data of your ldap server.
then click on the “create” button.
As agent plugin
We should enable the remote configuration, to enable it we have to open the pandora_agent.conf file:
vim /etc/pandora/pandora_agent.confInside we look for the remote_config line, to enable it we set it to 1.

And after that we restart the agent :
/etc/init.d/pandora_agent_daemon restartThe remote configuration will have been activated, go to the agents menu and click on the remote configuration icon, which is as follows:

Then we go to plugin menu :

We enter the command, click in add:

Example:
python3 /usr/share/pandora_server/util/plugin/pandoraversion_ldap.py -s ldap://localhost.localdomain:389 -b cn=ldapadm,dc=sanchez,dc=com -p redhat -a ldapserver --as_agent_plugin 1A new plugin will have been created:

Once this is done, we restart the agent:
/etc/init.d/pandora_agent_daemon restartAnd if we go to the agent with the remote configuration, the ldap modules will have been created.