Plugin NGINX Enterprise monitoring
Plugin for status monitoring of Nginx or Nginx plus
- Introduction
- Compatibility matrix
- Prerequisites
- Configuration
- General plugin parameters
- Plugin-specific parameters
- Manual execution
- Troubleshooting
- Configuration in Pandora
- Modules generated by the plugin
Introduction
Ver. 140521
With this plug-in you can monitor nginx or nginx plus.
It takes the required ip status data and generates the necessary modules.
Type: Agent plug-in
Compatibility matrix
| Systems where it has been tested |
CentOS 7 |
| Systems where it should work |
Any linux system |
Prerequisites
Required :
ngx_http_stub_status_module
Pandora FMS agent installation
You need to have enabled the module "ngx_http_stub_status_module" of nginx, that is where the plugin is going to get the data from.
Configuration
Depending on whether you have manually compiled NGINX or the precompiled package you are using, the module "ngx_http_stub_status_module" may or may not be installed, to check if it is or not you can use the following command:
nginx -V | grep -o with-http_stub_status_module
with-http_stub_status_moduleIn this example we see that it is installed so we can use it, otherwise we must compile NGINX by adding the module:
./configure \
--prefix=/opt/nginx \
--sbin-path=/opt/nginx/sbin \
--conf-path=/opt/nginx/nginx.conf \
--pid-path=/opt/nginx/run/nginx.pid \
--with-http_ssl_module \
--with-http_gzip_static_module \
--with-http_stub_status_moduleStatus configuration in NGINX
Let's declare status in the nginx.conf file located in /etc/nginx.

Add /status to the right of location, as shown in the image.
General plugin parameters
./nginx_monitor_enterprise <ip> /statusTo make the plugin work, it will be executed followed by the ip to monitor (must include the nginx port) and followed by /status, as seen in configuration it is declared in "location", by default it is status, so if you put this name it won't be necessary to include it in the command.
Plugin-specific parameters
This plugin does not contain any specific parameters, we can see an example of use by running it without any parameters.

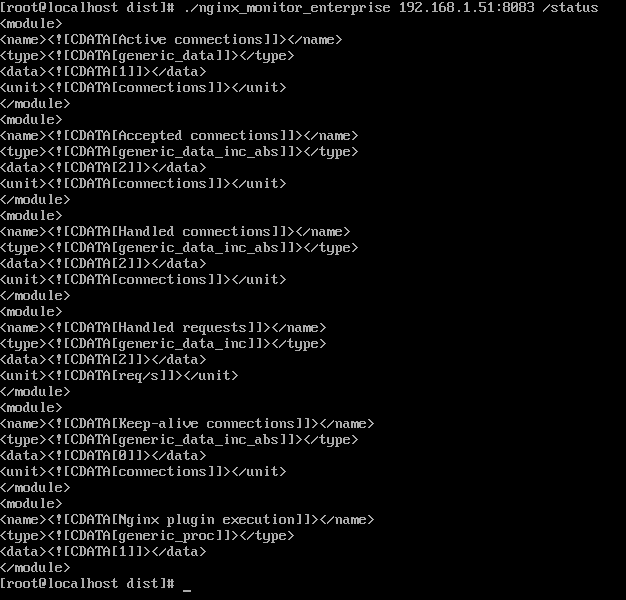
Manual execution
We can test the plugin from the terminal to see if it works, to check it, we run the plugin according to the parameters seen before, it will return data in XML format.
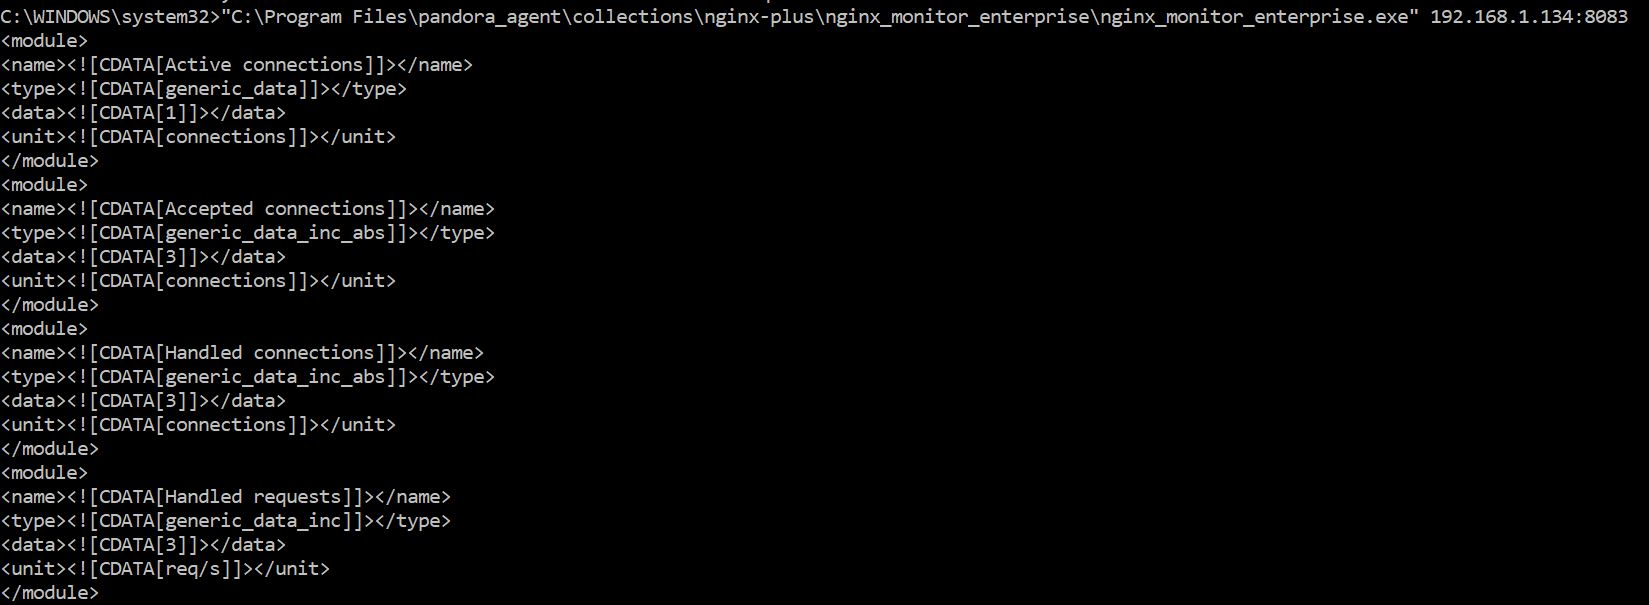
To check if the .exe for Ms Windows® EndPoint works, we will do it like this, making a call to the path where it is with inverted commas:
Troubleshooting
By default collections have a limit of 1000000 bytes, so when we upload the plugin using collections we will get this error:

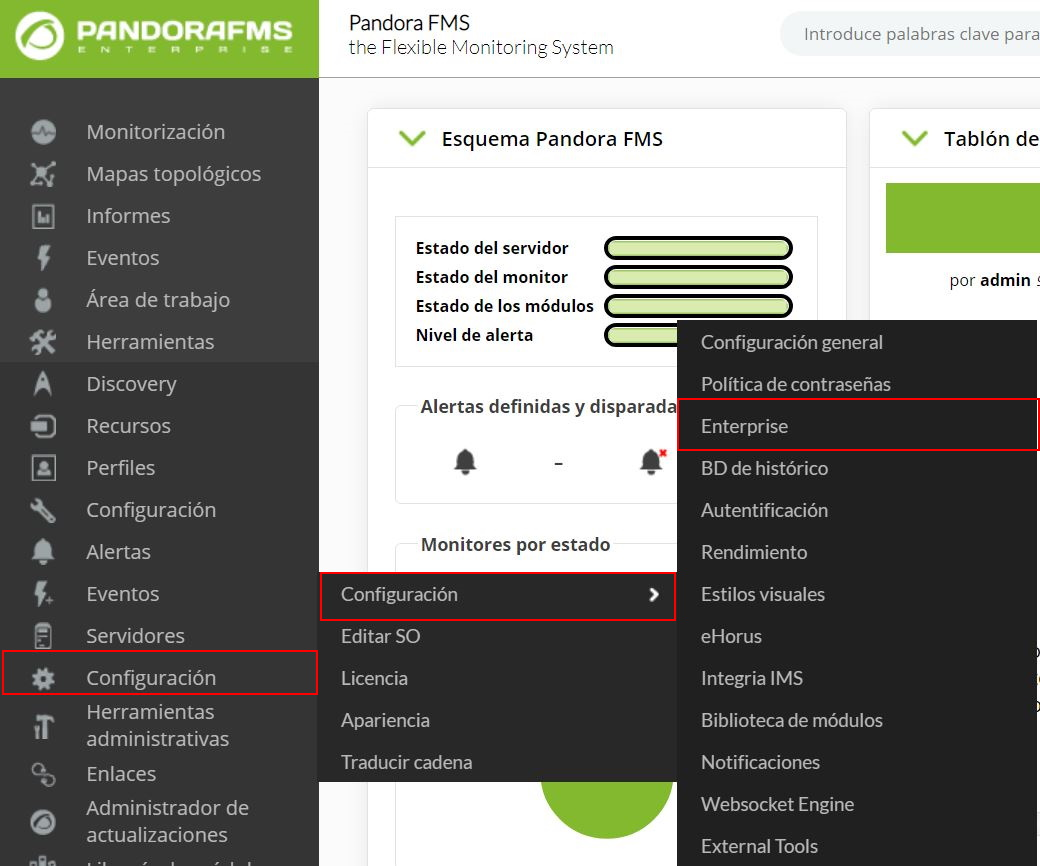
This has an easy solution, we will have to increase the limit of the collections, to do so we will go to configuration>configuration>enterprise :
And we changed this:
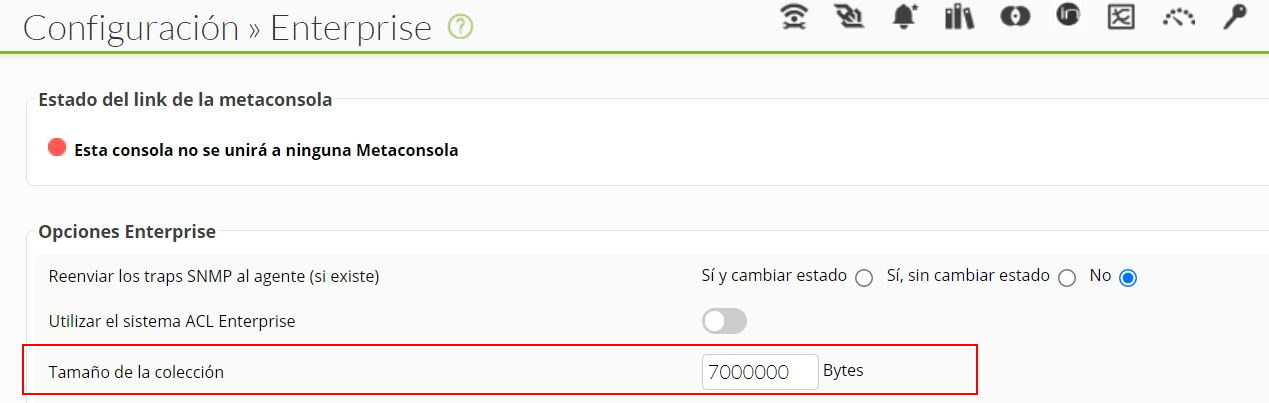
In this case I have set 7000000 bytes, which is more than enough for the use of this plugin.
Configuration in Pandora
Without remote configuration enabled
We must pass the plugin to the virtual machine, this can be done through pscp. We run pscp and open the windows terminal, inside to pass it to us we will use this code:
pscp -P 22 <path-plugin> root@<ip-machine>:<path-target>Example:

The recommendation is to put the agent plugins in the path /etc/pandora/plugins for a more comfortable use.
To use it, we will open pandora_agent.conf
vim /etc/pandora/pandora_agent.confAnd at the bottom of the file, we will load the plugin that we have passed to the machine by adding :
module_plugin <plugin path> <ip to monitor with nginx port> <url for status>.
With remote configuration enabled
To enable the remote configuration we have to open the pandora_agent.conf file:
vim /etc/pandora/pandora_agent.confInside we look for the remote_config line, to enable it we set it to 1.

That done, to install the plugin with remote configuration enabled there are two options, the first is :
Perform the process of sending the plugin to the virtual machine as it is defined in the way to install the plugin without remote configuration enabled described above, only instead of entering the line :
module_plugin <plugin path> <ip to monitor with nginx port> <url for status>.in pandora_agent.conf from the machine, we will do it from the console, in the agents menu, click on remote configuration:

And enter the line, then click on update:

The second option is through collections.
Go to configuration > collections:

Click on create :

Enter name and short name and click on create again:

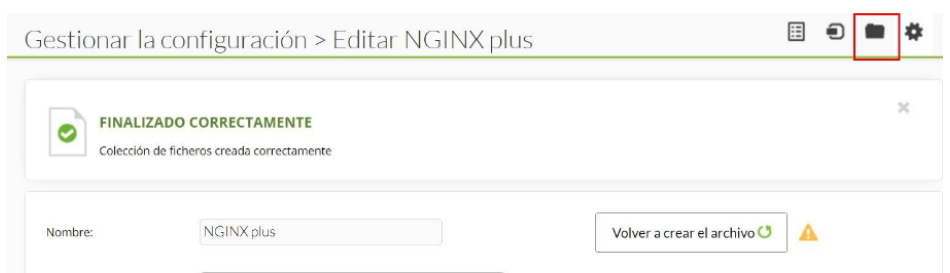
When it is created, go to :
Click on "Upload":
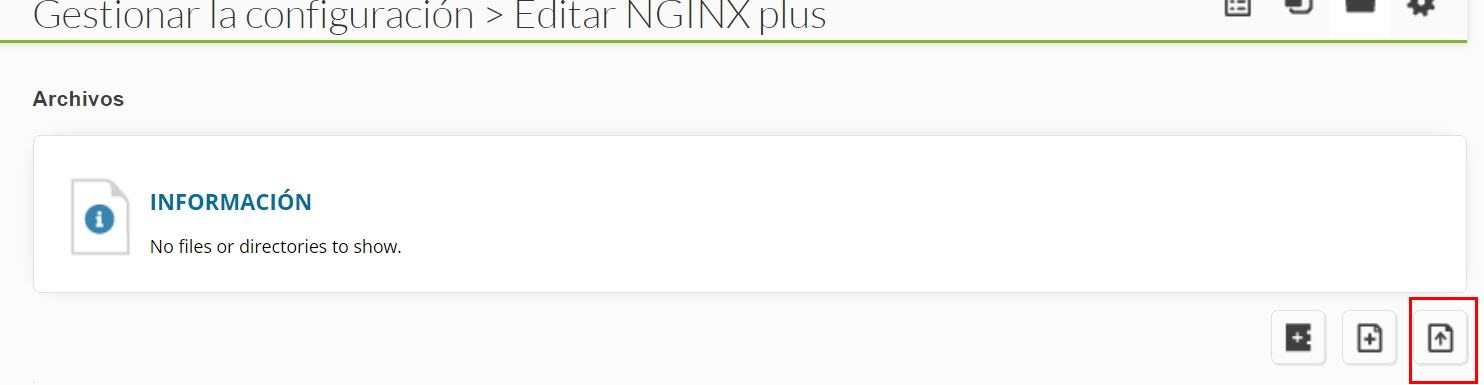
Upload the plugin and click "go":

Click on "recreate file" :

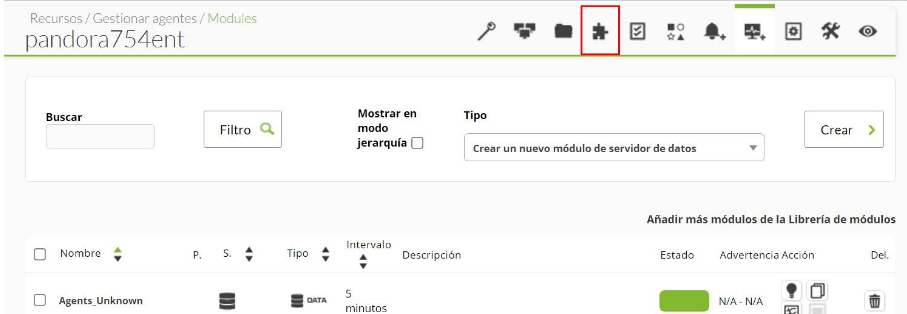
Go to the agent plugins menu:
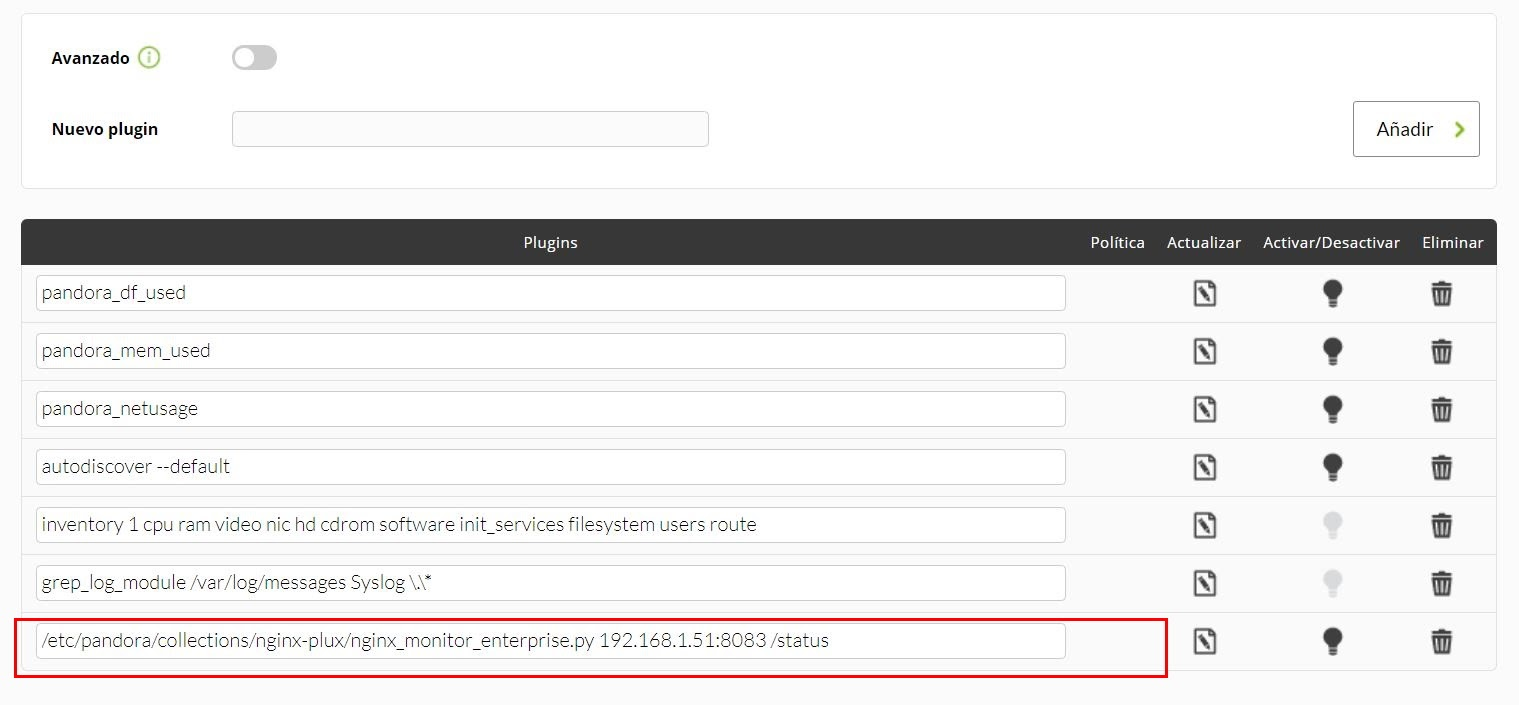
Enter the path to the plugin with the ip address to monitor, followed by /status:

You will see below that the plugin has been loaded (in this image you can see how to enter the IP, remember that there is a space between the IP and /status.
Then, we restart the agent with :
/etc/init.d/pandora_agent_daemon restartAnd if everything went well, the modules should appear in the agent.
Install plugin in zip version for windows devices
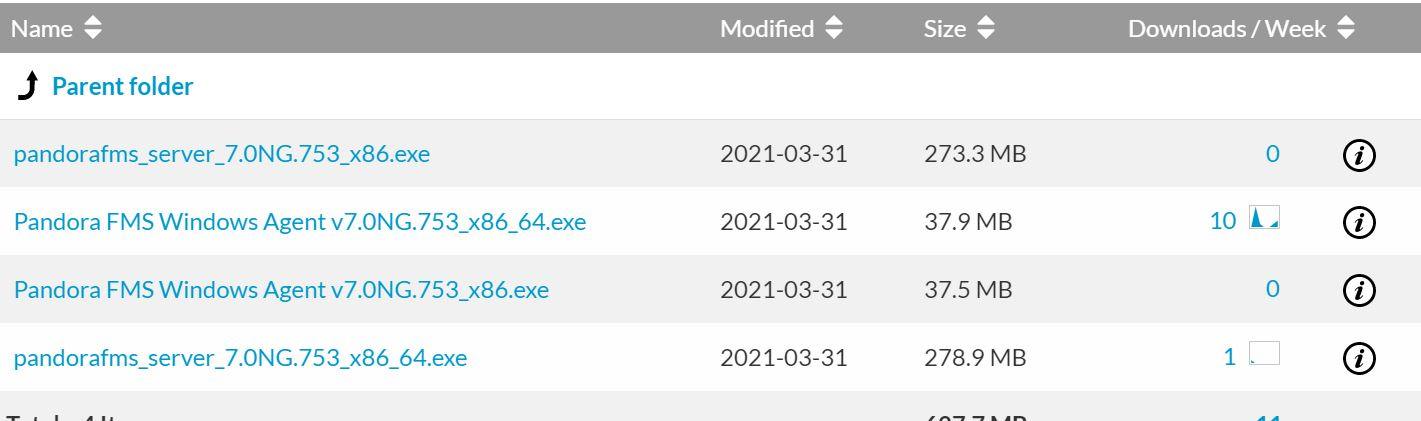
The first thing to do is to install the MS Windows® EndPoint, you can download it from :
https://pandorafms.com/en/downloads/
we will look for the version of Pandora FMS we are using, and click on windows :

We will start the installation of the file, we put the path where we want it to be installed ("C:\Program Files" by default) and when the process is completed, we put the ip of the server where the agent is going to be installed.

In the next window, check the remote configuration tab so that it is directly enabled.

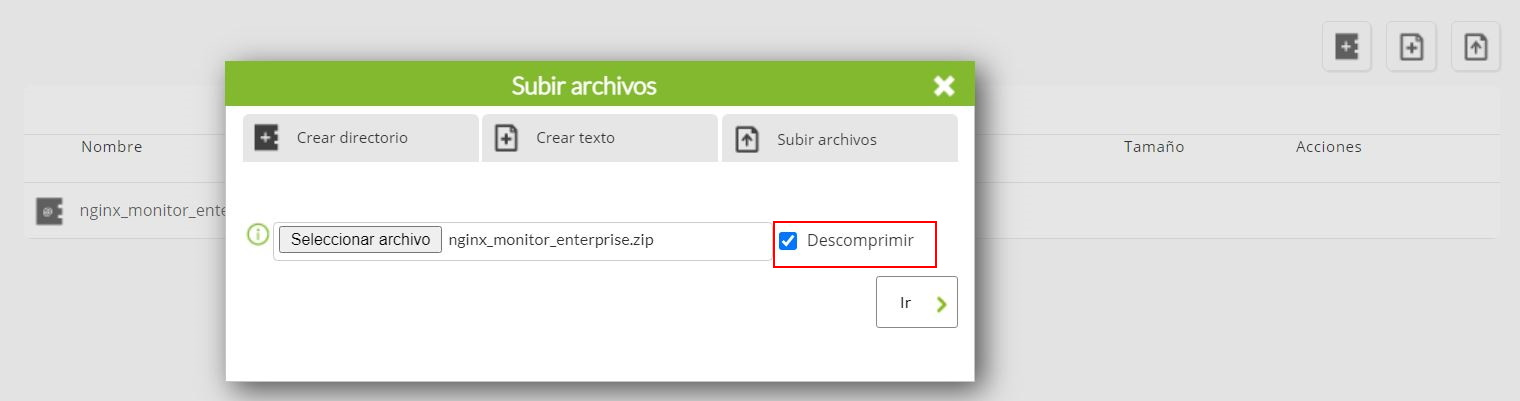
When it is installed, we will create a collection in the console, go to configuration > collections :

Upload the .zip file and click on the tab that says "unzip":
Once this is done, click on "recreate file" to save it.
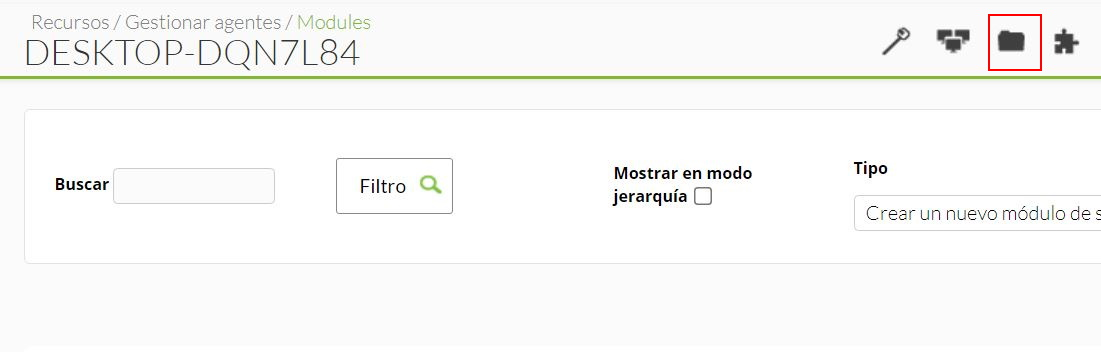
Then go to resources>manage agents>modules (of the windows EndPoint) and go to collections:
Click on the "add" icon in the previously created collection:

We will see that the collection has been created in "collections", in the folder where the agent was installed:

Then we go to "agent plugins" and make the call to the plugin of the collection we have created by putting "Program Files "agent plugins" <ip ngins with the port> :

We will see what has appeared below:

Go to agents, click on windows agent remote configuration:

And below we will see how this line has been created for us:

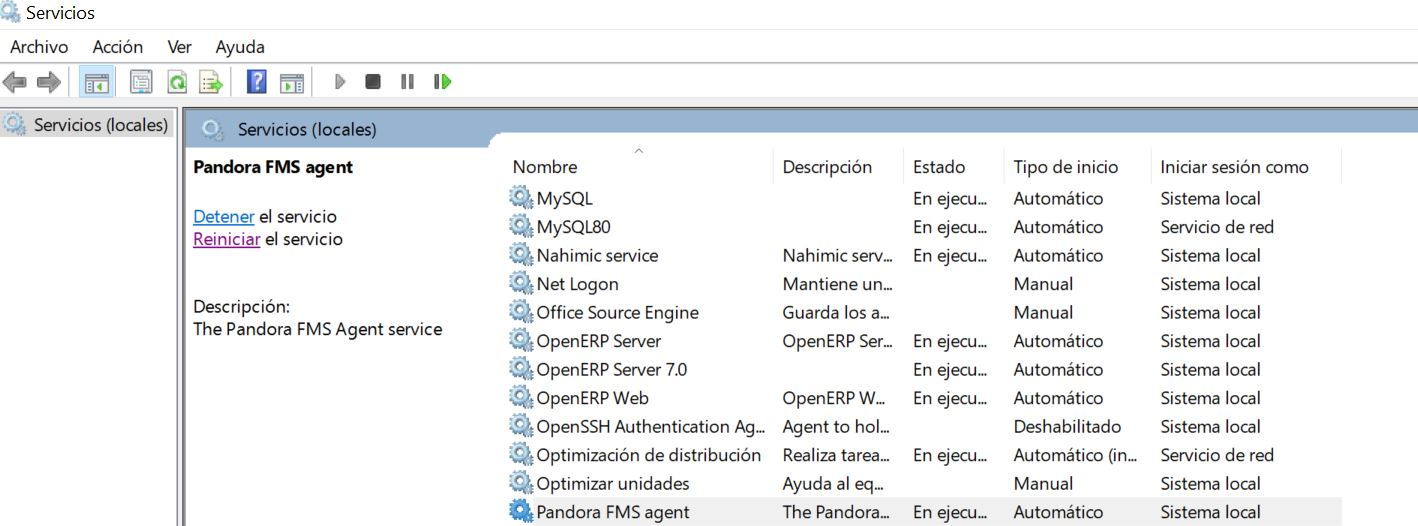
Once this is done, we restart the EndPoint again from services, and the modules will have been created.
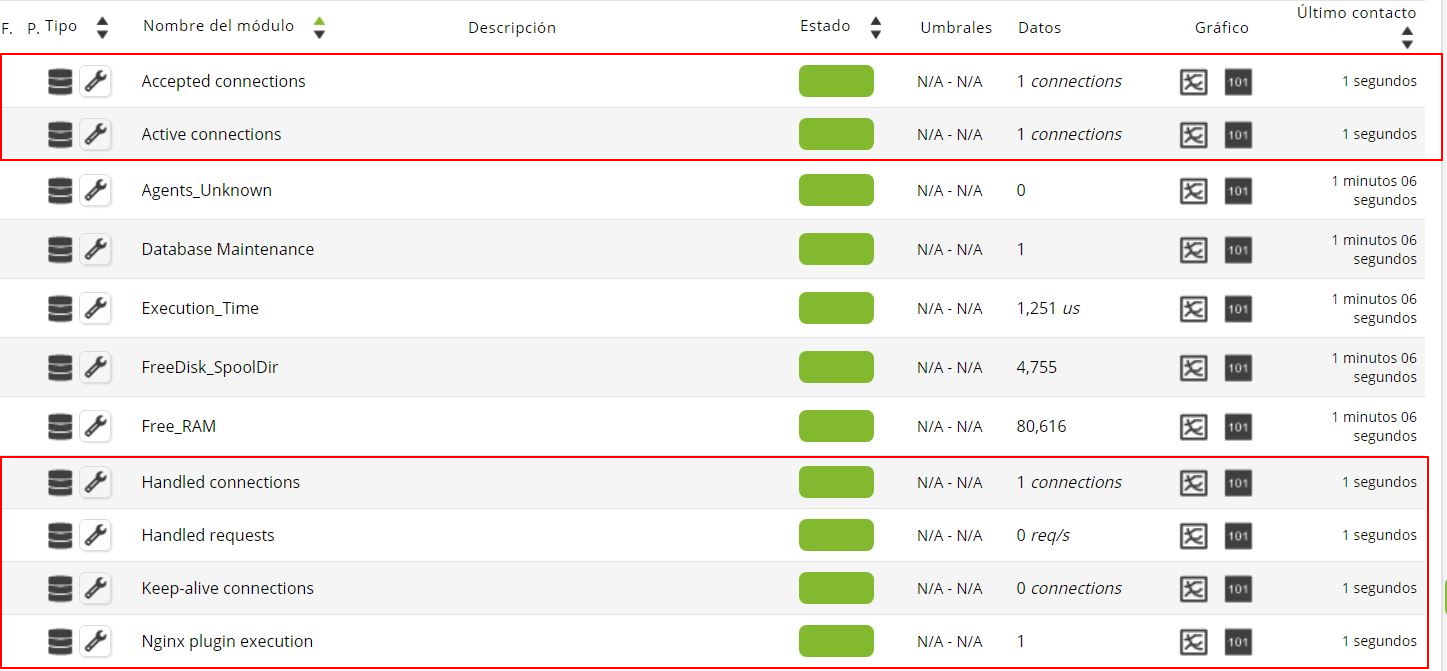
Modules generated by the plugin
The standard execution of this plugin will return the following modules by default (with all optional blocks enabled):
Monitoring:
|
The current number of active (accepted) connections from clients. |
|
The total number of accepted connections from clients since the nginx master process started. |
|
The total number of handled connections from clients since the nginx master process started. |
|
The total number of client requests since the nginx master process started. |
|
Number of keep-alive connections |
|
If the plugin is running, 1 if so, 0 otherwise |
|
Exception if the above modules are not generated. |
This is what it would look like on the module screen:
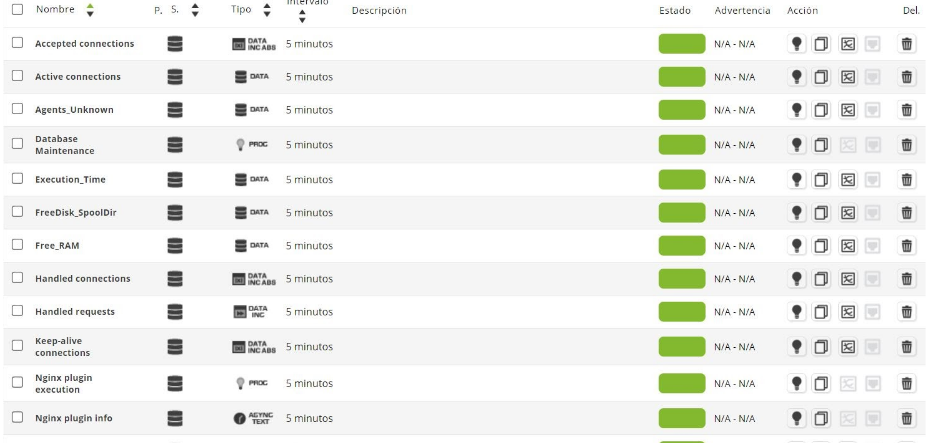
And this is an example of how it collects data in the agent view: