Configuration in PandoraFMS
Example running the plugin as an agent plugin
https://pandorafms.com/guides/public/link/816#bkmrk-para-usar-este-plugi
To use this plugin in agent mode, you should call the plugin with a command with the parameters that you are using, this can be done from the pandora_agent.conf file located in "/etc/pandora". Although if the remote configuration is enabled, it can be done from the console.

To call the plugin use the module_plugin parameter followed by the command at the end of the file:
Example:
module_plugin /pandora_ux.64 -exe pwr -script wux2.side -pwr_port 4444 -pwr_host 172.42.42.1In the next interval that the agent is updated, the modules inside the software agent in which we are calling it will appear.
Example running the plugin as a server plugin
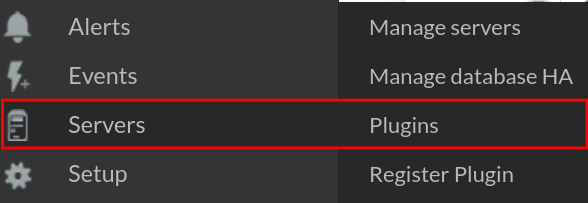
Go to servers > plugins:
Click on add:

The name and description of your choice is given:

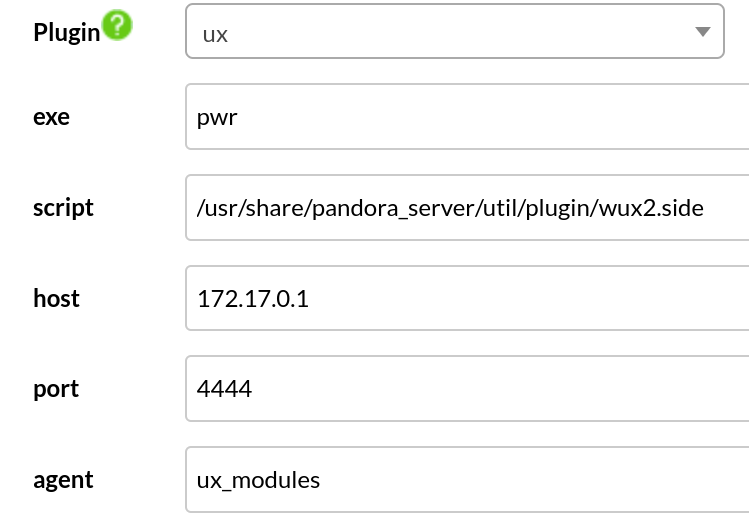
Below in "plugin command" you must enter the path where we have the UX plugin. In plugin parameters we will enter all the parameters we want to use to customize the plugin execution followed by the _field_ macro that will allow us to store the values of these parameters below.
* If you are going to use the plugin as a server plugin, you must use the agent parameter, since this makes the plugin execution show a basic value with which we can see the status of the execution instead of an xml that is what we would use if we want to use the plugin in agent mode.

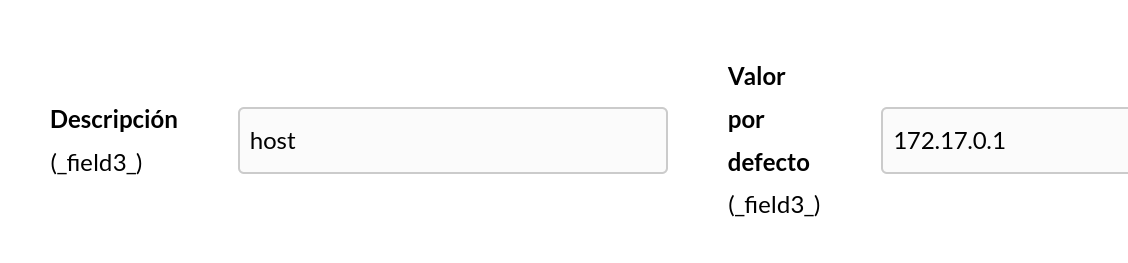
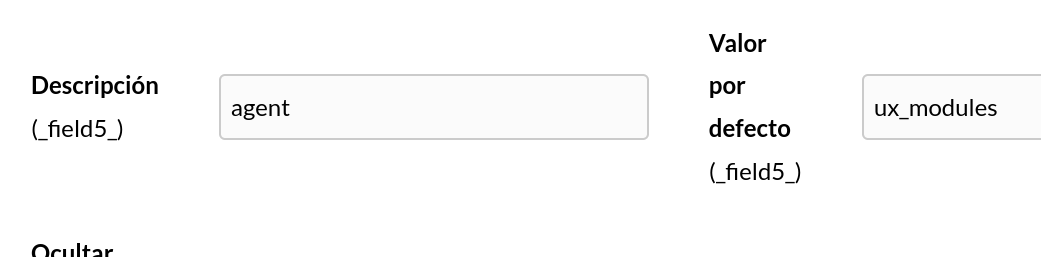
A description can be added to each macro to identify it followed by a value.
Macro _field1_

Macro _field2_

Macro _field3_
Macro _field4_

Macro _field5_
Once this is done, you can see in the command preview this command, and by executing it via terminal you can see if the data entered are correct.

If it is introduced by terminal it should show a 1 if everything has gone correctly with the transaction.
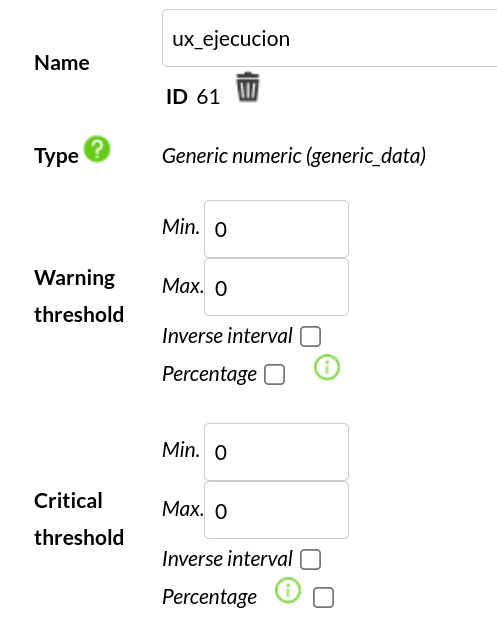
Once these steps are done and the plugin is configured to the user's whim, a module must be created, which will show the status of the plugin execution, for this it is required to go to an agent and create a new plugin server module.

The module will be given the name of your choice.
And in the plugin label the plugin that has just been created will be selected, you can see how the parameters that we have entered by the macros appear below.
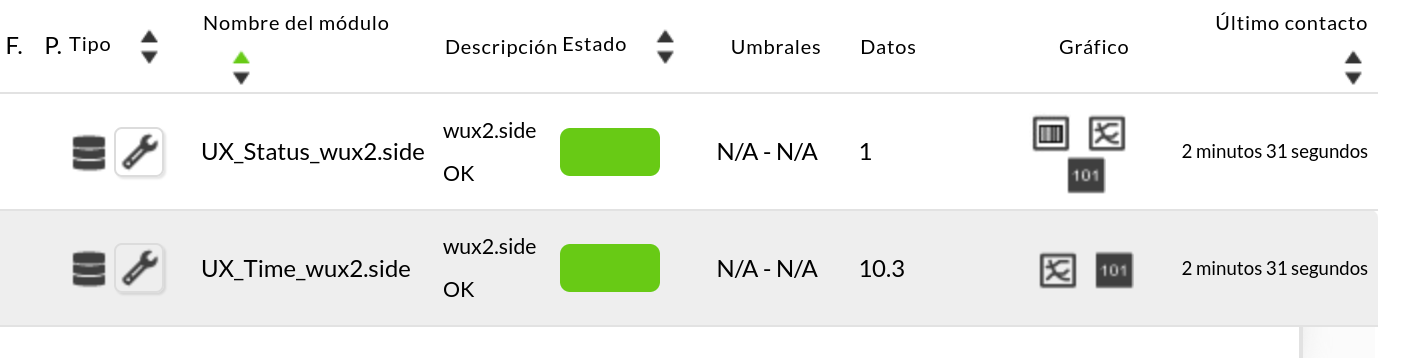
Once this is done the module must be created and it will appear in the modules view with 1 if the plugin execution is not having problems.

You can see that an agent has been created with the name given by parameter.

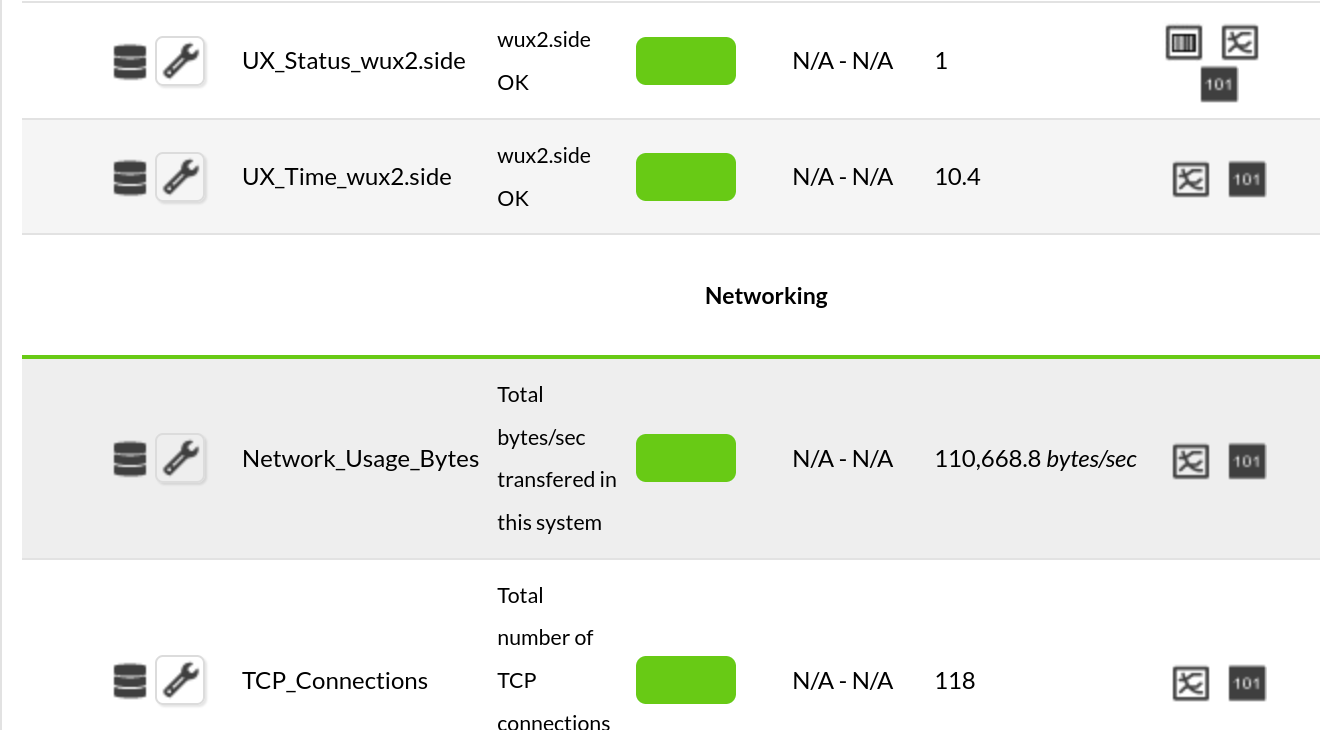
And within this you can see the modules with the status of the transaction.