Pandora FMS Agent Installation in Windows Server 2019
Installation step by step of Pandora MFS agent in Windows Server 2019
Download Pandora FMS EndPoint
This document shows the step by step for Pandora FMS EndPoint installation on Windows Server 2019.
The procedure is the same for Windows Server 2008, 2012 in 64 Bit editions.
For previous editions, it is only necessary to use the 32 Bit agent available in the download page.
Pandora FMS installed in this example (172.16.75.20)
Windows Server 2019 installation (172.16.75.161) must have Internet access to download the EndPoint.
Microsoft EDGE browser used to follow exactly the same steps of this guide.
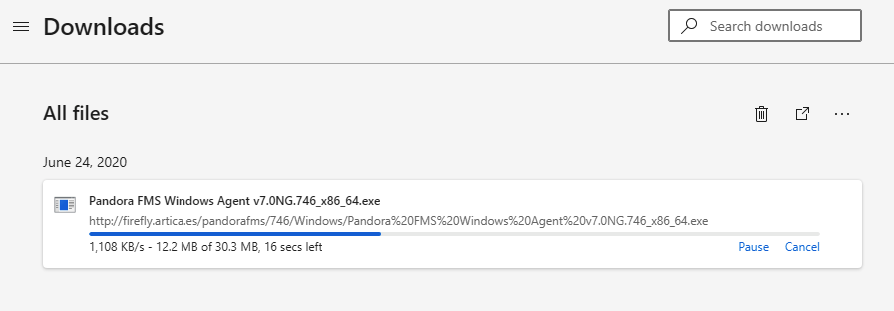
Download the EndPoint from the download page https://pandorafms.com/en/downloads/, choose 64 Bits as shown in the following image

Wait for the download to finish.
If you get an error from the package, confirm keep as we know it is safe keep ENTER.

Select Show more.
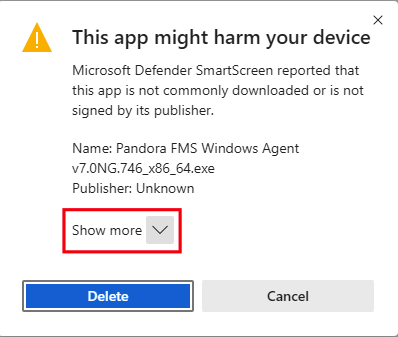
Select Keep anyway.

Select Show in folder.

Install Pandora FMS agent
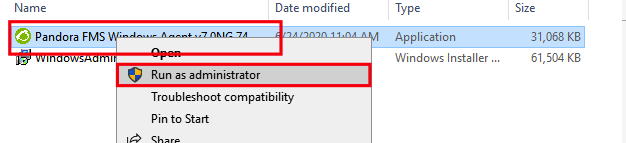
El file was downloaded in the previous step.
Right click Run as administrator ENTER.
Click More info.
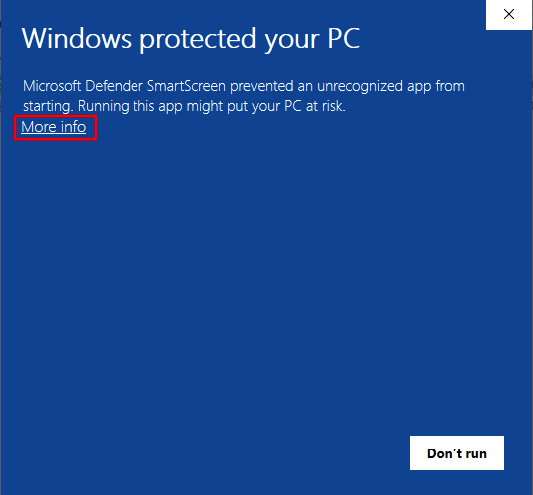
Select Run anyway.

Select the language of your choosing, in this case English OK.

Click Next.

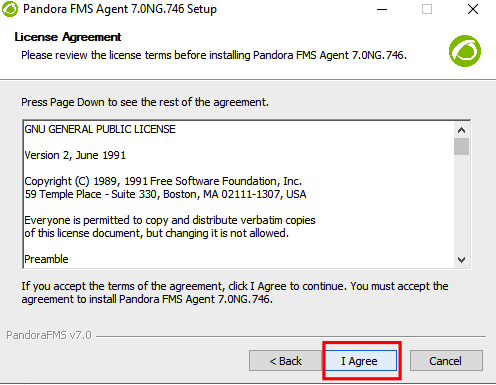
Select I Agree.
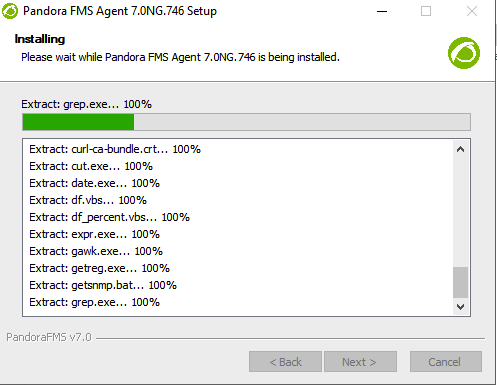
Select Install.

Wait for the installation to be completed.
Add the IP of your Pandora FMS server, in this example 172.15.75.20 and click Next.

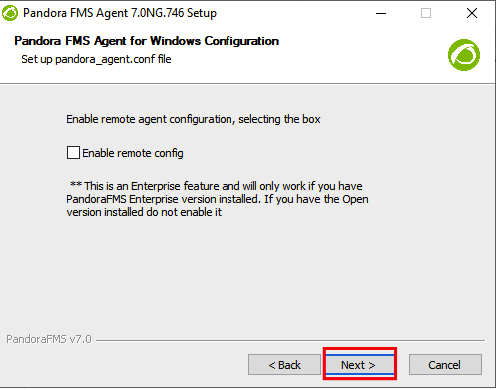
Click Next. If you have an Enterprise server and want to enable remote config select this configuration.
Uncheck Show Readme and click Finish.

You will see the agent service is started.

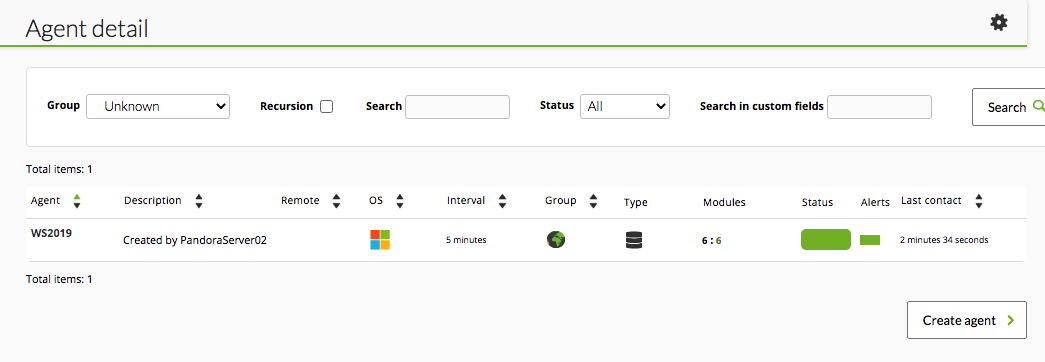
See agent in web console
To validate the appropriate installation, go to console and look for the agent Monitoring -> Views -> Group view.

In the Unknown agent group.
In my console, I have set that new agents stay in group Unknown, these settings can be edited easily.

Verify that your agent is properly installed.