# Configuration in Pandora
**Installation from the console**
To register the plugin, from the console, go to the "register plugin" section.
[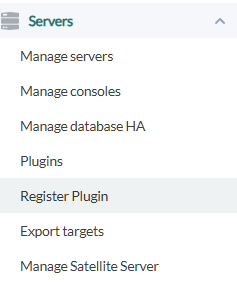](https://pandorafms.com/guides/public/uploads/images/gallery/2025-08/9UOimage.png)
Click on select file.
[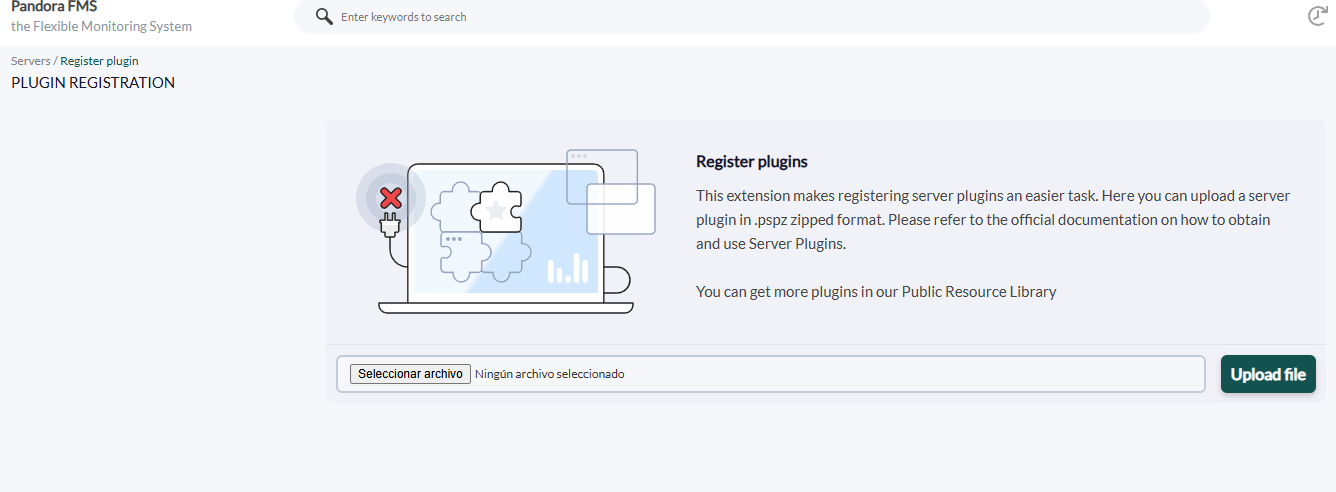](https://pandorafms.com/guides/public/uploads/images/gallery/2025-08/84wimage.png)
Select the pspz2 file containing the plugin.
[](https://pandorafms.com/guides/public/uploads/images/gallery/2022-04/register1-mongodb.png)
Once uploaded you will see a message indicating that it has been successfully registered.
[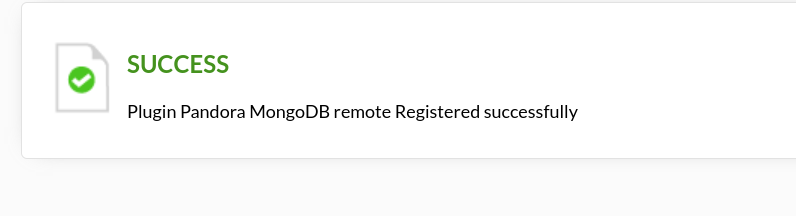](https://pandorafms.com/guides/public/uploads/images/gallery/2022-04/register2-mongodb.png)
Once the plugin is registered, we will see it in the plugins section.
[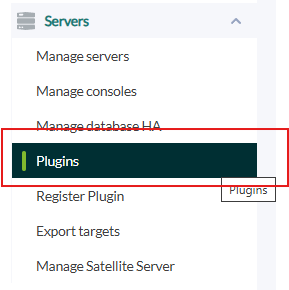](https://pandorafms.com/guides/public/uploads/images/gallery/2025-08/Eh6image.png)
In the parameters section we will see all the parameters used by the plugin, not all of them are essential for its operation, only those that are mandatory in parameters.
[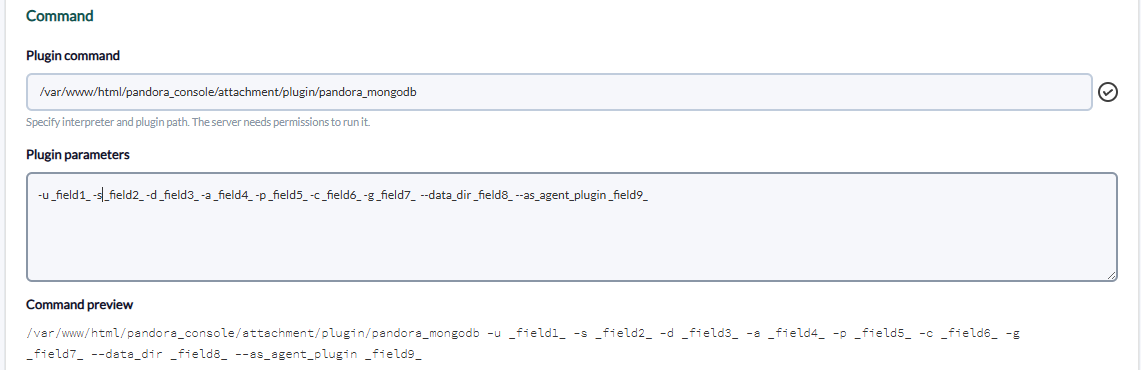](https://pandorafms.com/guides/public/uploads/images/gallery/2025-08/TvKimage.png)
In the section below you will see all the parameters used and you will be able to assign them the required value.
[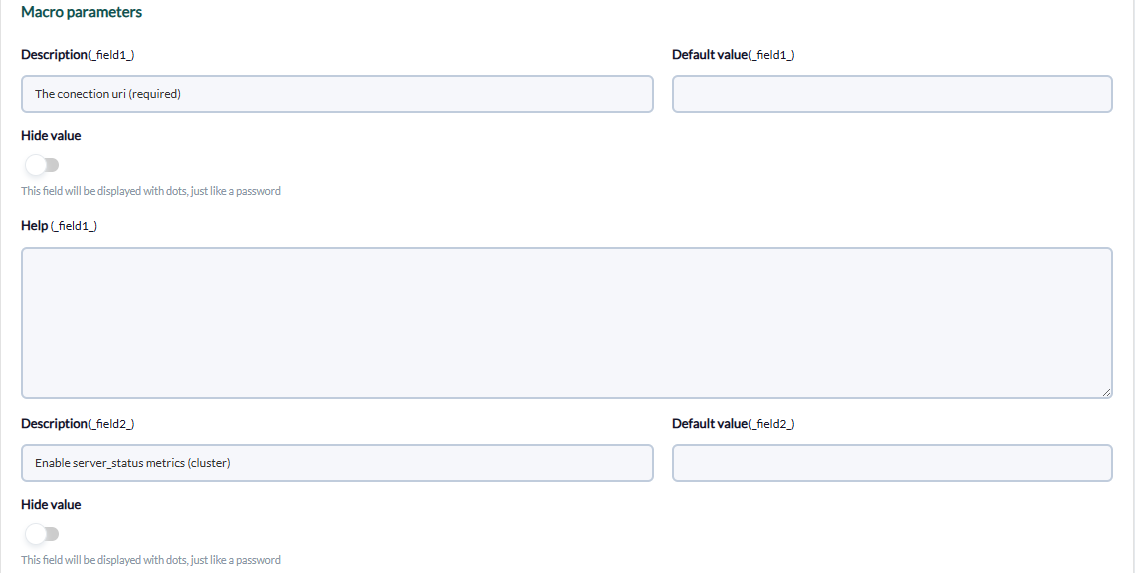](https://pandorafms.com/guides/public/uploads/images/gallery/2025-08/9Wlimage.png)
**Manual installation**
The best way to manage server plugins in Pandora is from "/usr/share/pandora\_server/util/plugin" so we will send it to that path.
Then we will move to the folder where we have put it ("/usr/share/pandora\_server/util/plugin" is the recommended one").
**Remember: You have to install the dependencies that the PyMongo module needs in your system, this is explained in the configuration section.**
We move from home with :
```
cd /usr/share/pandora_server/util/plugin/
```
We run the plugin to see that it works:
```
python pandora_mongodb -u -s -d -a -p -c [ -g ] [ --data_dir ] [ --as_agent_plugin 1]
```
[](https://pandorafms.com/guides/public/uploads/images/gallery/2021-08/image-1629974206435.png)
With as\_agent\_plugin 1 we will be able to see an XML with the data that will be displayed in the console:
[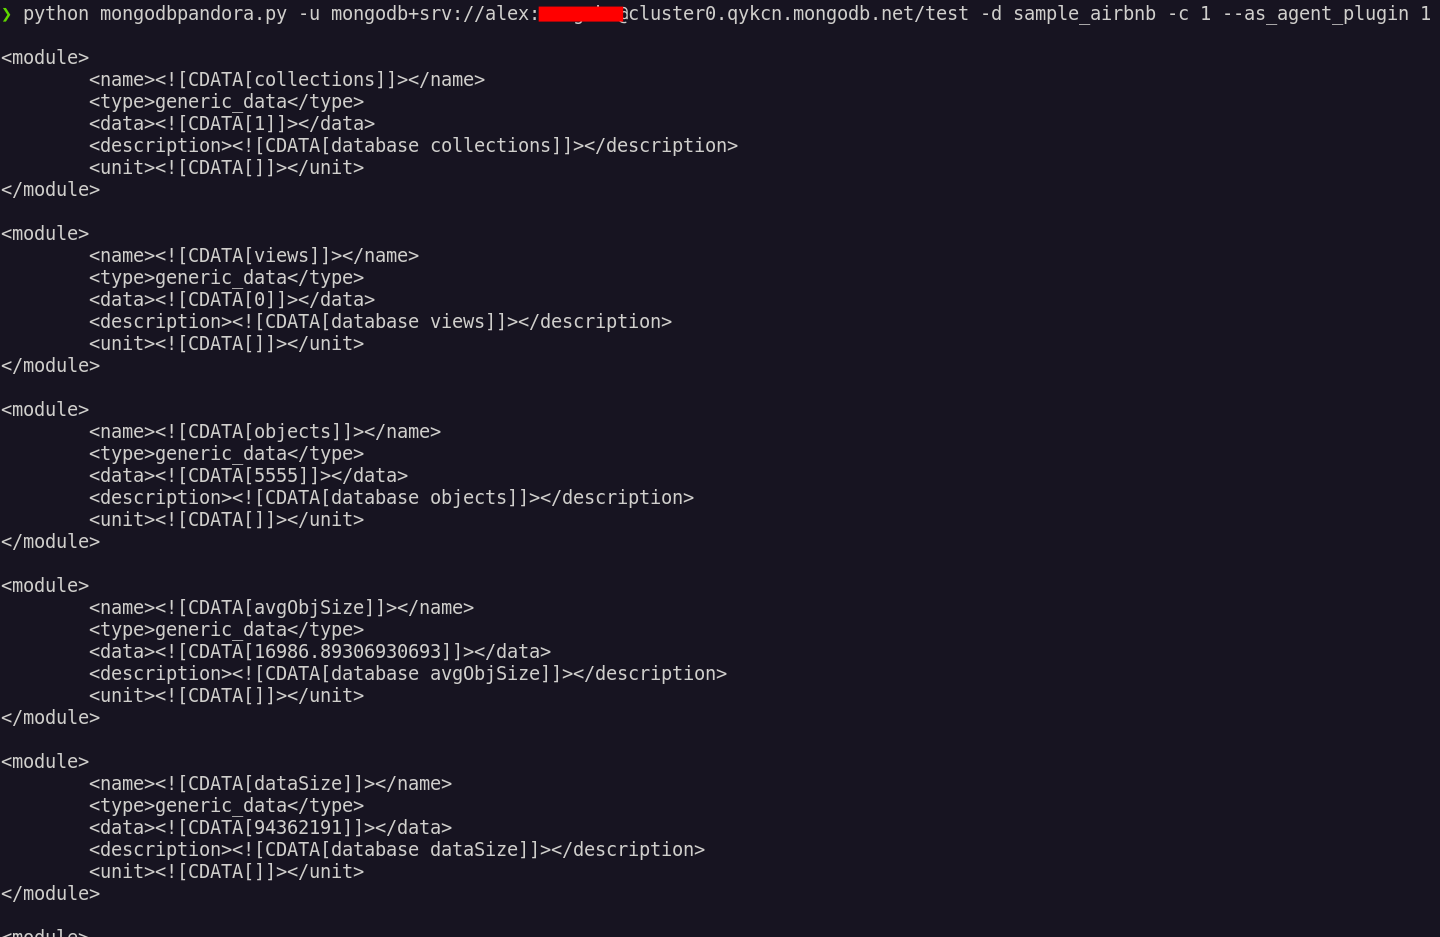](https://pandorafms.com/guides/public/uploads/images/gallery/2021-08/image-1629974241455.png)
If we execute it in the first way, without "as\_agent\_plugin 1", we will have created an agent for each database of our cluster. The --as\_agent\_plugin parameter can only be executed if we insert the databases one by one, introducing their name with the -d parameter.
Anyway, if you prefer to install it manually from the console, the process would be the following:
**As a server plugin**
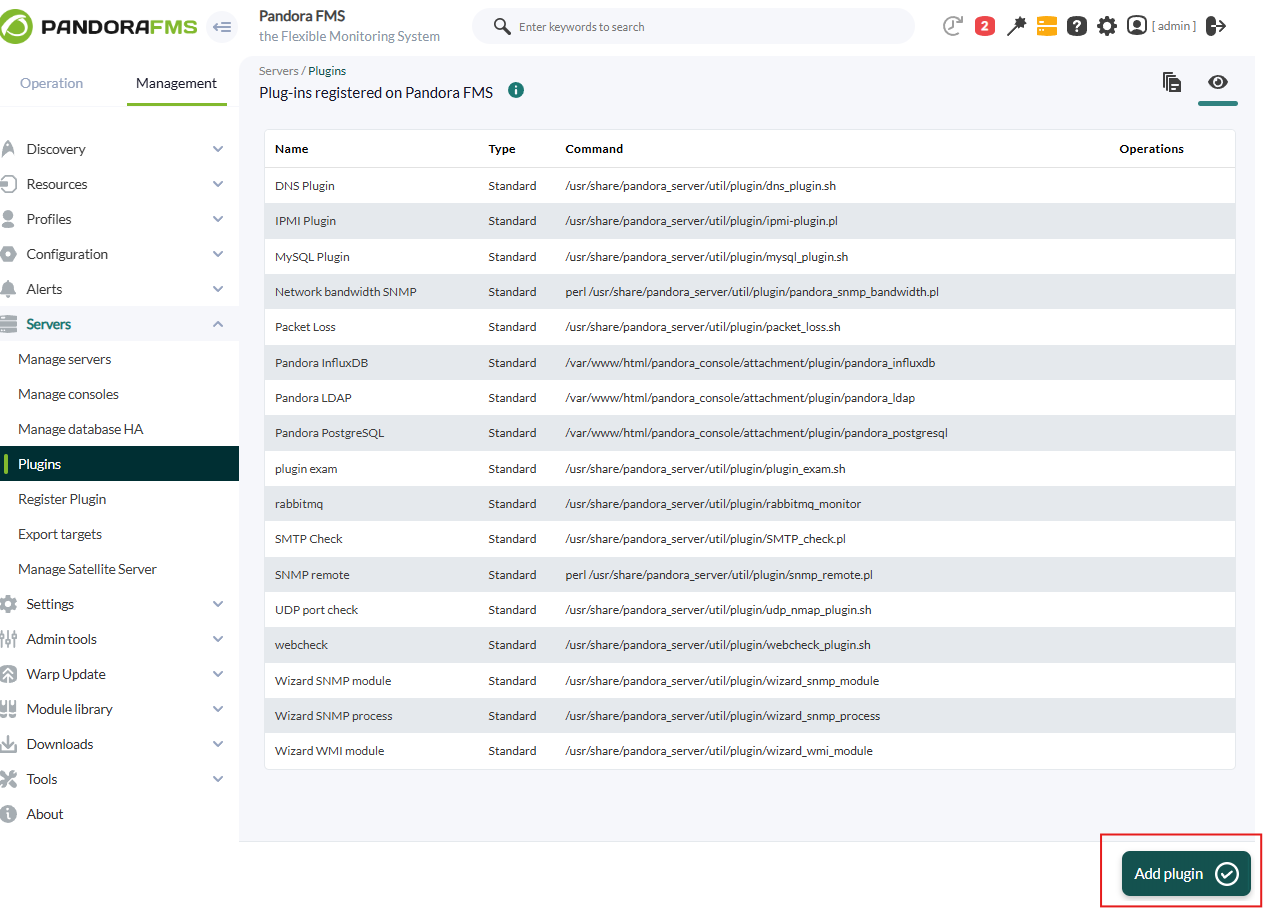
Go to servers > plugins:
[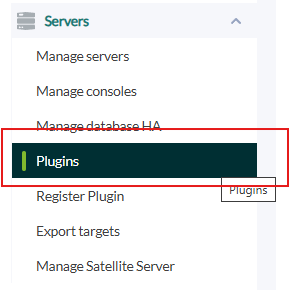](https://pandorafms.com/guides/public/uploads/images/gallery/2025-08/pI0image.png)
Click on add:
[](https://pandorafms.com/guides/public/uploads/images/gallery/2025-08/Snrimage.png)
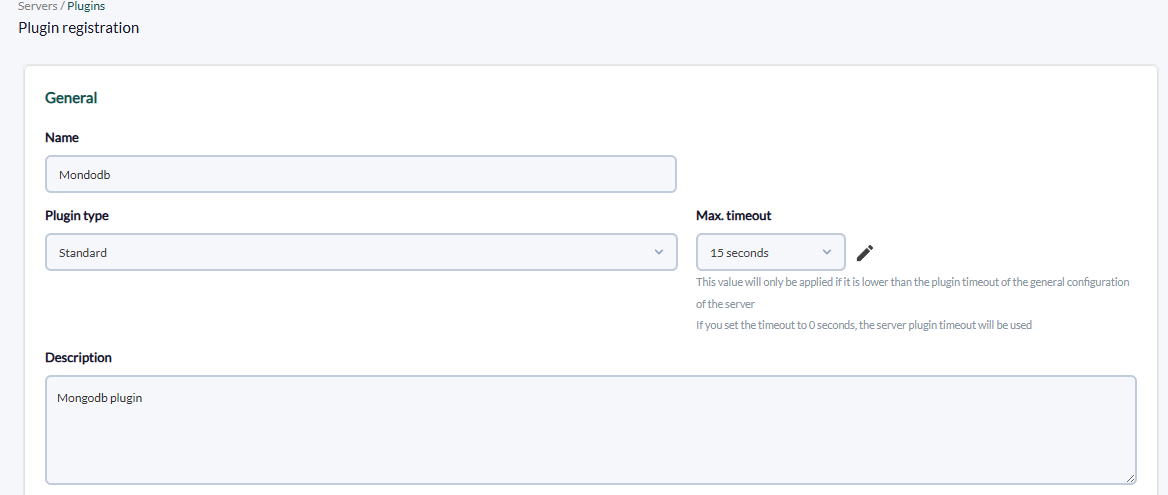
We put in the name and description of your choice:
[](https://pandorafms.com/guides/public/uploads/images/gallery/2025-08/aPWimage.png)
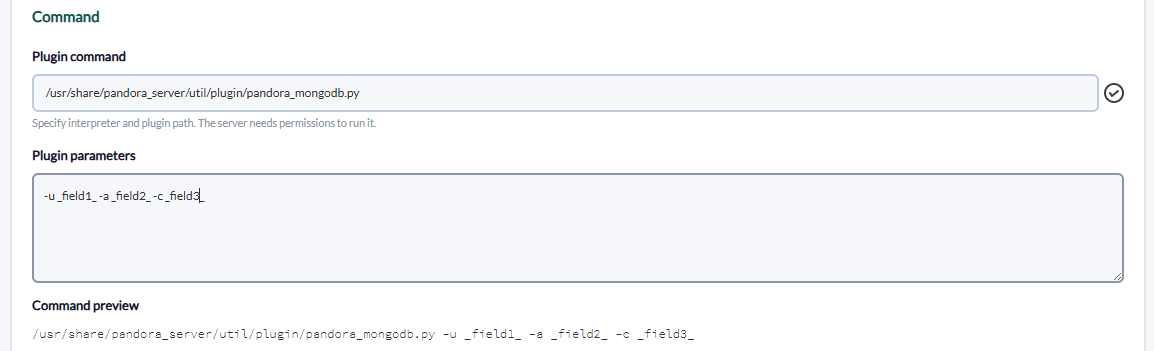
We enter as command the path to the plugin, and as parameters the ones we have entered by executing the plugin, the "\_field\_" fields are macros defined below.
[](https://pandorafms.com/guides/public/uploads/images/gallery/2025-08/AEqimage.png)
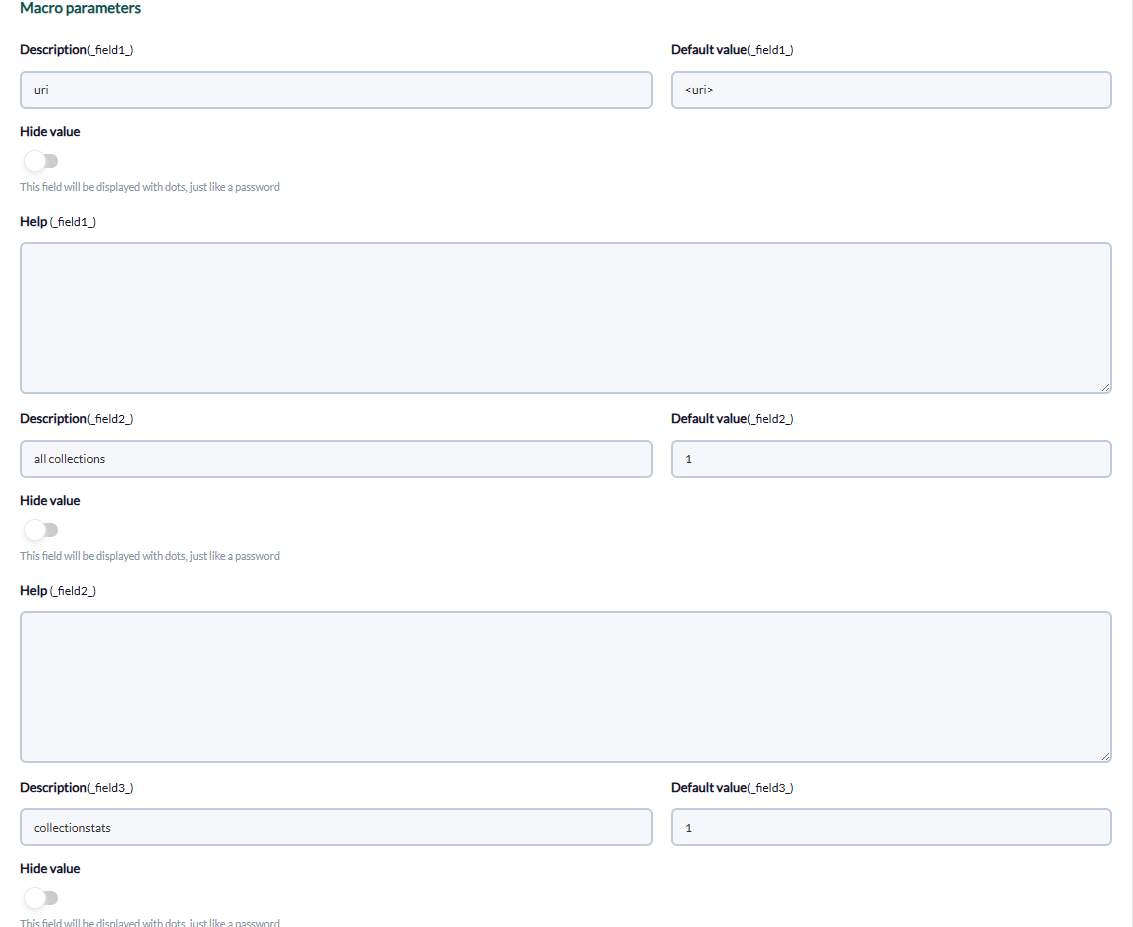
We put for each macro the description of your choice and as value the data of your ldap server.
[](https://pandorafms.com/guides/public/uploads/images/gallery/2025-08/Yimimage.png)
Once this is done, if we execute the plugin from the terminal, the agent with the modules will have been created.