| **Systems where tested** | exchange 2016, exchange online |
| **Systems where it should work** | Any version of exchange |
Steps to enable OAuth in online exchange:
- **Application Registration in Azure AD**: - Log in to the Azure Application Portal. - Navigate to Azure Active Directory > Application Logs > New Logging Application. - Complete the application details. - **Permissions Configuration**: - After registering the application, go to "API Permissions" and assign the necessary permissions for Exchange Online (full\_access\_as\_ap). - **Obtaining Application Credentials:** - In the "Credentials" section of the application, create a new secret key and use this, the tenant id and client id of the application to authenticate with the plugin. # Parameters| --server | Server name |
| --smpt\_address | Mailing Address |
| --user | Exchange user |
| --client\_id | Client id |
| --tenant\_id | Tenant id |
| --secret | secret |
| --password | User password |
| --smtp\_address | User account from which emails will be filtered. |
| --subject | To filter word or phrase in the subject. |
| --sender | To filter by e-mail |
| --date\_start | Each date must be separated by a hyphen and enclosed in quotation marks, with the following format: 'year-month-day-day-hour-minute'. example: '2021-1-12-0-0'. |
| --date\_end | Each date must be separated by a hyphen and enclosed in quotation marks, with the following format: 'year-month-day-hour-minute'. example: '2021-1-12-0-0'. |
| --mail\_list | To create a new module with a list of matching mails. |
| --transfer\_modo | Transfer mode |
| --tentacle\_port | Tentacle port in case you want to send data in this way |
| --tentacle\_address | Tentacle address in case you want to send the data in this way |
| --agent\_prefix | Name of the agent that will contain the modules |
| --module\_prefix | To add a prefix to the module, "Exchange" is the default prefix. |
| --group | Target group in pandora |
| --interval | Time creation interval for the agent |
| --temporal | Temporary file directory. |
| --data\_dir | Data destination address |
| --log\_file | Log file path |
| --auth | Authentication mode. The two possible options are 0Auth and basic. The basic authentication is required in exchange online. |
Remember that the recommended path for the use of the server plugins is: /usr/share/pandora\_server/util/plugin/
And in plugin parameters we will introduce these followed by the macro "\_field<N>\_", the mandatory ones for the plugin to work are --server, --auth, --smtp\_address and depending on the authentication method, user and password in the basic one and client\_id, tenant\_id and secret in OAuth authentication.Although it is not mandatory, the use of the --agent\_name parameter is highly recommended, since it allows us to customize the name of the agent that will contain the created modules.
Once this is done, we will click on "create". Once this is done, the only thing left to do is to call it, so we will go to some agent's view and create an add-in module: [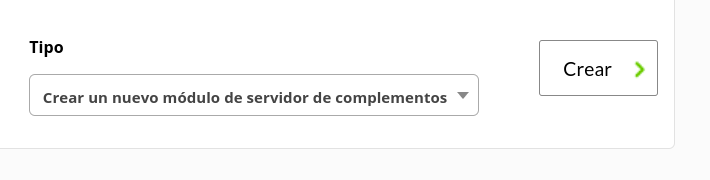](https://pandorafms.com/guides/public/uploads/images/gallery/2022-03/image-1646741530197.png) We will give it a name and in the section "plugin" we will put the one we have just configured. Once this is done, click on create. If the module is shown with 1, it means that it is running correctly. # Modules generated by the plugin - The plugin will create an agent with a module called "Coincidences\_count" with the number of coincidences and if the ```--mail\_list`` parameter is used it will also create a module with a list of coincidences.