Configuration in Pandora
Installation from the console
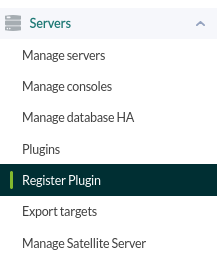
To register the plugin, from the console, go to the "register plugin" section.
Click on select file.
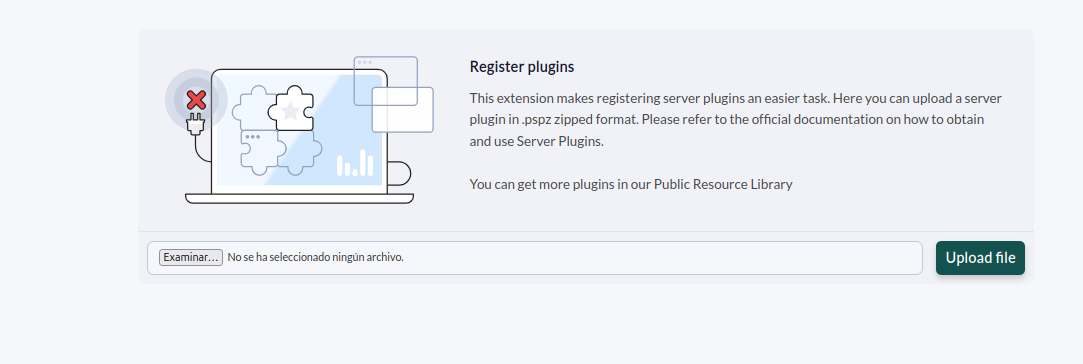
Select the .pspz2 file containing the plugin.

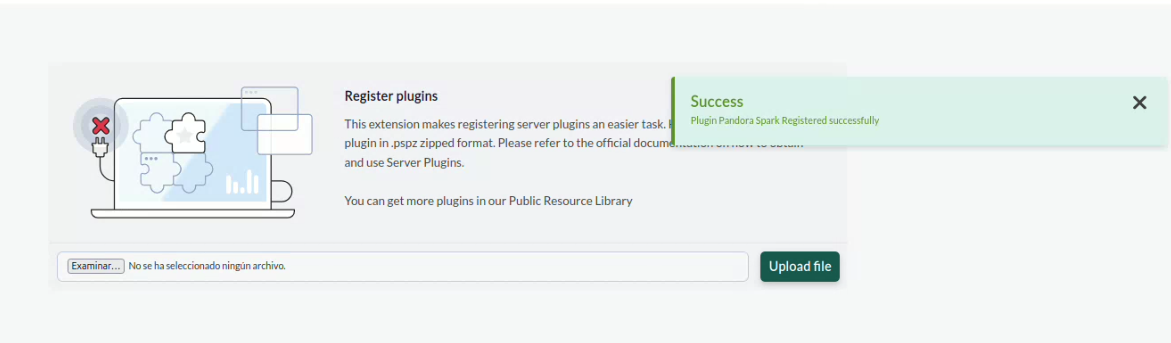
Once uploaded, a message will be displayed indicating that it has been successfully uploaded.
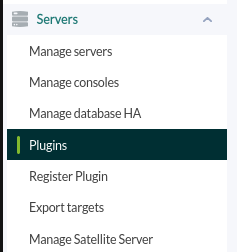
Once the plugin is registered, we will see it in the plugins section.
In the parameters section, all the parameters contained in the plugin will be displayed, although it is only mandatory to use the ip parameter.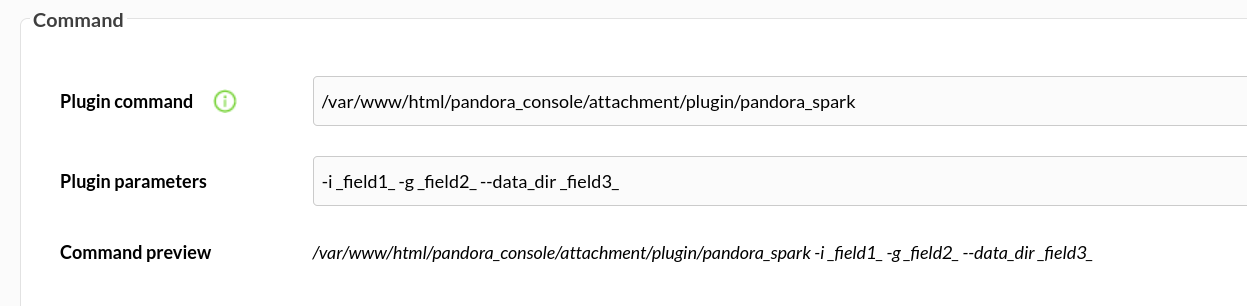
Below we can assign the required value to each macro.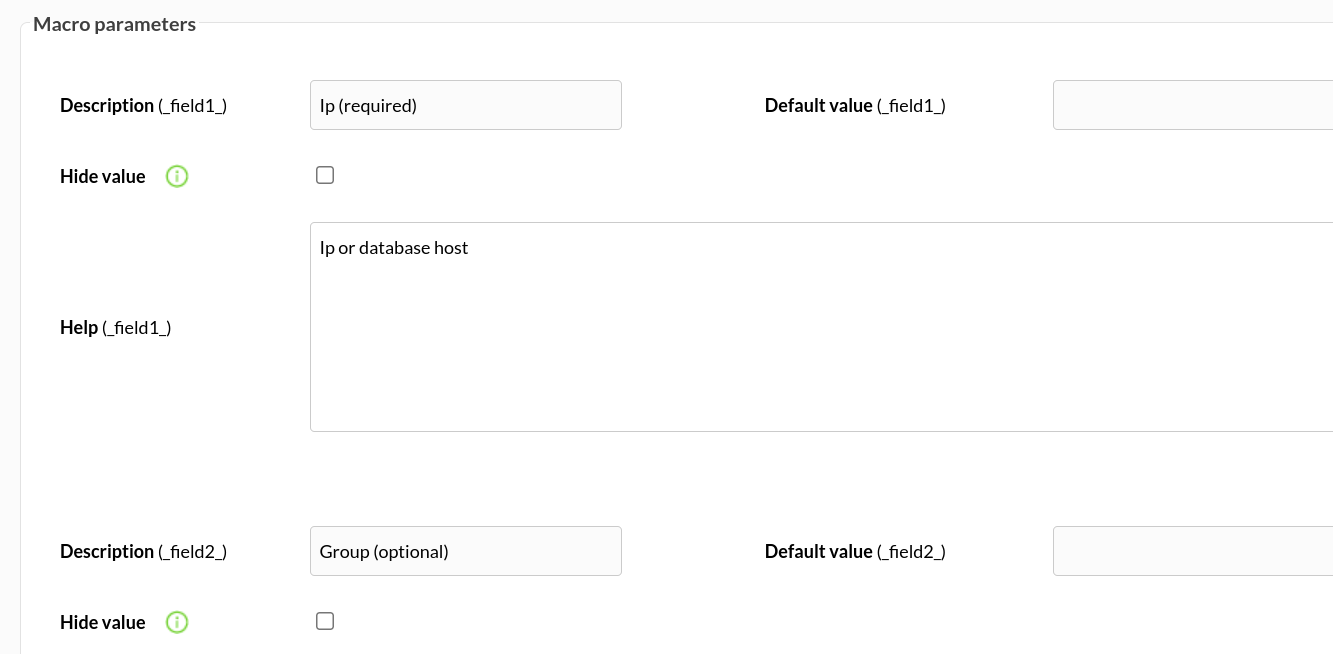
The best way to manage server plugins in Pandora is from "/usr/share/pandora_server/util/plugin" so we will send it to that path.
Then we will move to the folder where we have put it ("/usr/share/pandora_server/util/plugin" is the recommended one").
Remember: You have to install the dependencies that the Requests module needs in your system, it is explained in the configuration section.
We move from home with :
cd /usr/share/pandora_server/util/plugin/We run the plugin to see that it works:
./pandora_spark -i <ip-with-port> -[ -g <group> ] [ --data_dir <data dir> ]
As a server plugin
Go to servers > plugins:
Click in add:
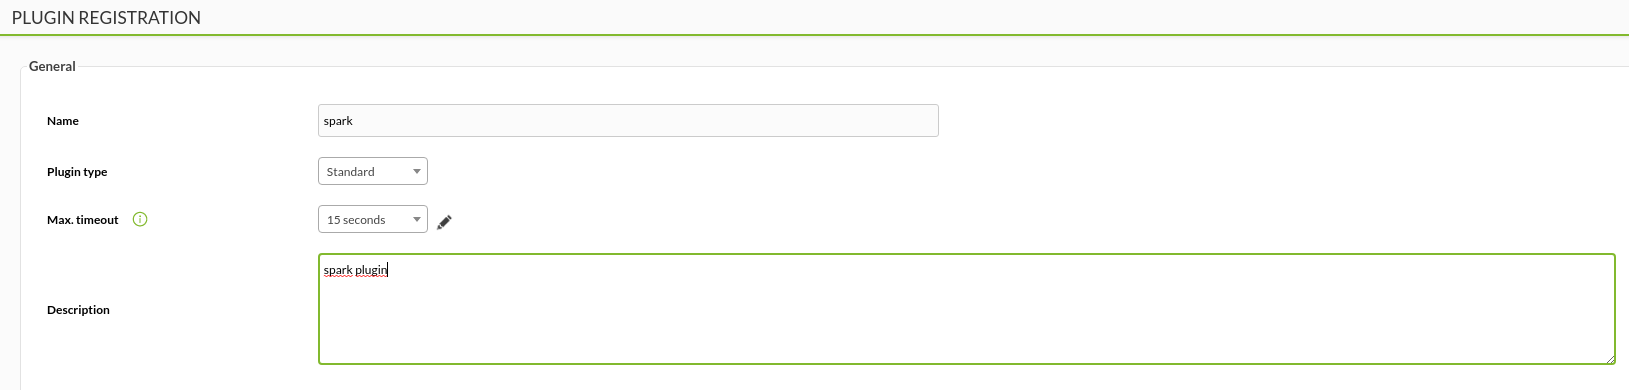
We put in the name and description of your choice:
We enter the path to the plugin as a command, and as parameters we will configure the “_field_” fields, which are macros that we will define below.

We put for each macro the description that you prefer and as value the data of your ip.

Once this is done, if we execute the plugin from the terminal, the agent with the modules will have been created.